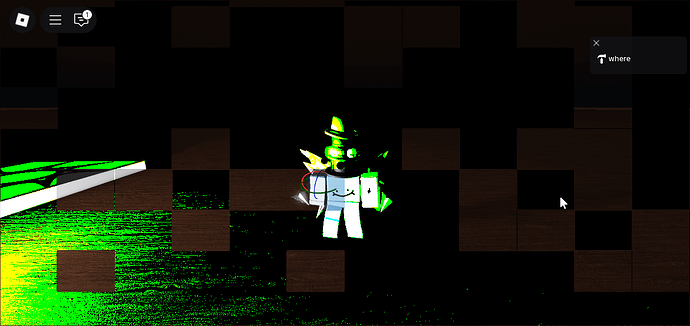
I’ve been wanting to try and replicate this ever since i saw Forsaken do it (see image attached)
While this isn’t an exact replica of that Forsaken glitched effect, it’s the closest I can get to with the method that I used.
You can change StarterGui.ScreenGui.glitchEffect.CameraFX.Highlight.FillColor to change how it affects colors.
You can download the place file here:
ForsakenGlitchEffect.rbxl (127.4 KB)
(*script could definitely be optimized)
(**and also not sure how to fix the weird black lines)
Explanation
While trying to find how it works, I saw this YouTube video that showed how to create ‘post-processing effects’ using a Highlight and a MeshPart, and because they used the Glass material, I thought of putting glass parts over the Highlight (with DepthMode being set to Occluded), and because of how Roblox renders glass, it does not render the ‘post-processing effect’ over the other glass I put, so I made a quick script to place 3D glass triangles on the screen while also adding the ‘post-processing effect’ mesh on the camera, and the resulting effect looks pretty much like Forsaken however I am not sure if this is the same method Forsaken used as I can’t seem to be able to get a 1:1 replica of the image given in the OP. It’s either because I’m using the wrong setup or that Forsaken is using a different method entirely.
(sorry if this was a bad explanation, I haven’t posted on the DevForum in quite a while)

