Hello! Recently I have done a major update on one of my old plugins, Low Poly Terrain Creator, and I am here to provide a tutorial on how to use this tool
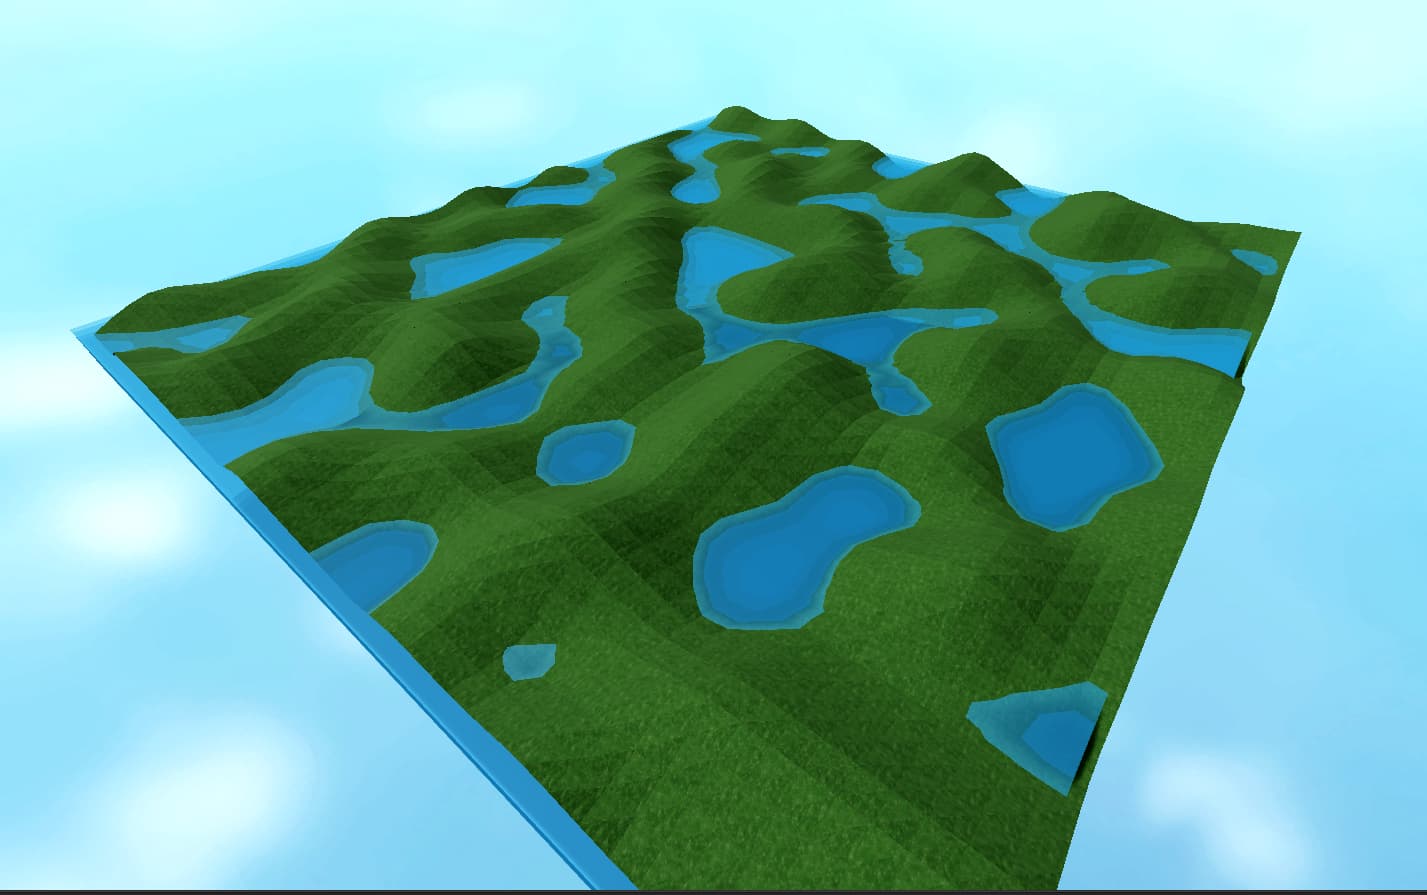
First let’s see what you are able to create with this plugin.
Without further ado, let’s get on with the tutorial!
Step 1
If you do not have the plugin downloaded/updated please do so, link below.
Step 2
Below is a picture on how the interface is set up. As you could see, there are 3 tabs
- Edit
- Generate
- Brush

Edit Tab
On the Edit Tab, you can find three checkboxes which are “Edit Mode”, “Snapping”, “Show Nodes” as well as a slider.
-
Edit Mode → if on, you can adjust individual nodes position, if off you can begin by drawing triangles for your terrain manually.
-
Snapping → This is a setting to determine whether or not your mouse can snap to the closest node to it.
-
Show Nodes → (this should be used if you want your terrain to be editable again) If on, it makes nodes transparent, with the properties CanCollide, CanQuery and CanTouch set to false.
-
Slider → This relates to the Snapping checkbox, how many studs you want the snapping to be.
Below that you can find the Material Select, as well the color select which the generation of triangles/terrain will take.
Generate Tab
Here is a picture on how the Generate Tab is laid out.

As you could see there are a few options here, such as
- Grid Size → This determines how many nodes on a vertical/horizontal axis you will have (NxN)
- Node spacing → This determines how far apart those nodes are in studs
- Height → This is used for random terrain generation giving it a height map.
- Generate → By clicking this button, the random generation process for your terrain will begin.
- Clear Nodes → (Note, using this terrain will not be editable again) Remove the nodes you currently have.
- Clear All → This deletes your whole terrain data.
NOTE: To increase performance for your experiences, maximize Node Spacing and minimize Grid Size.
Brush Tab

With this tab you can easily manipulate your generated terrain.
- Brush Size → This is how big your brush is in studs.
- Brush Weight → This is how many studs your affected nodes move per step.
- Opacity → The higher the number and the further the node is from the brush center, the less it gets affected.
- Mode → Select whether you want the terrain to be increased or decreased in height.
I hope this was helpful, if anyone has more improvements or feature requests, don’t hesitate to reply!
Thank you,
KinqAndi


