I just wanted to make a tutorial that is easy for beginners to understand. I will show you how to:
- Choose a program
- Use a template
- Make a base
- Add details
- Test
- Shade
- Upload!
(WARNING: it takes 10 robux to upload a shirt)
Step 1
choose a program. There are a few different programs you can use for making clothes. Some good ones are:
- paint.net
- photoshop
- gimp
- pixlr
Or if you want to do it on mobile: (warning: you cannot test on mobile)
- ibis paint x
- medibang paint pro
- sketchpro
(before you start, you should have some knowledge on how to use the program you chose)
[gimp tutorial] (coming soon)
Step 2
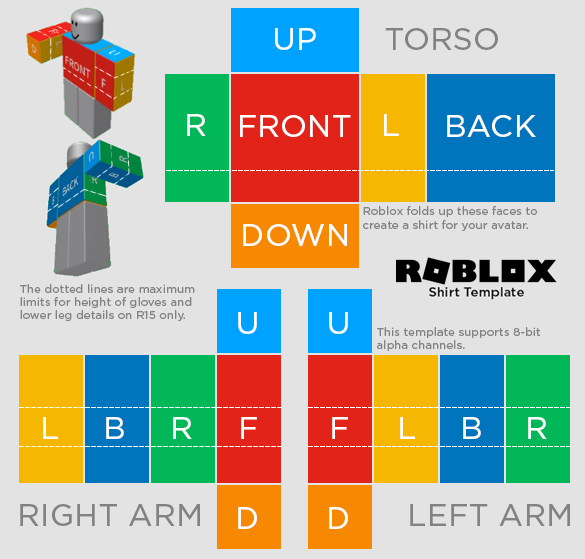
you can either make your own template or use roblox’s template.
You can use this to make your own. just change the username and colors.

And these are roblox’s templates.

Step 3
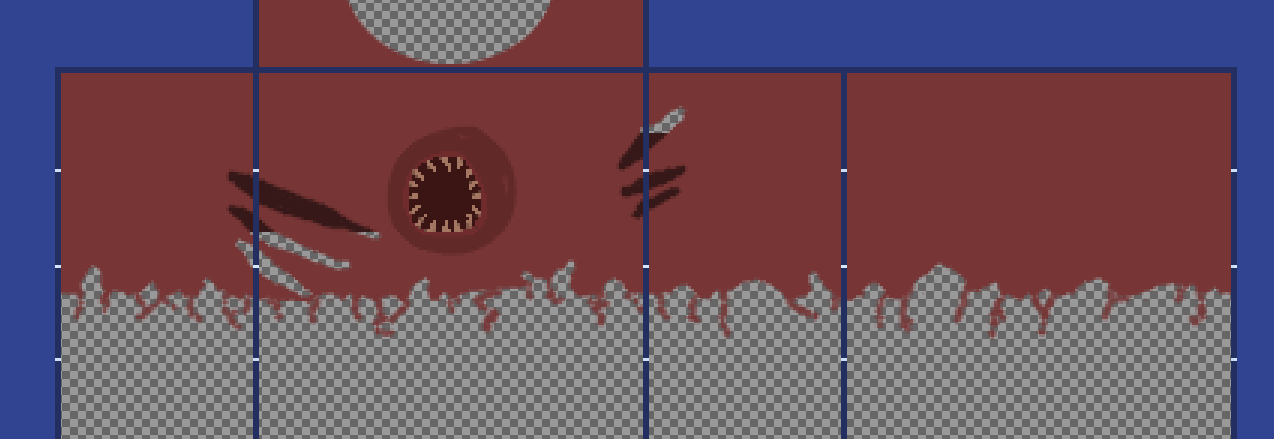
make a base. (I am using gimp, sorry if this doesn’t work the same on any other programs)
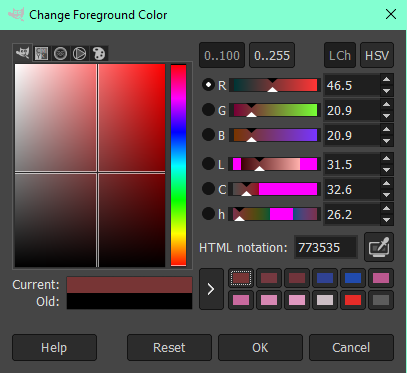
pick a color
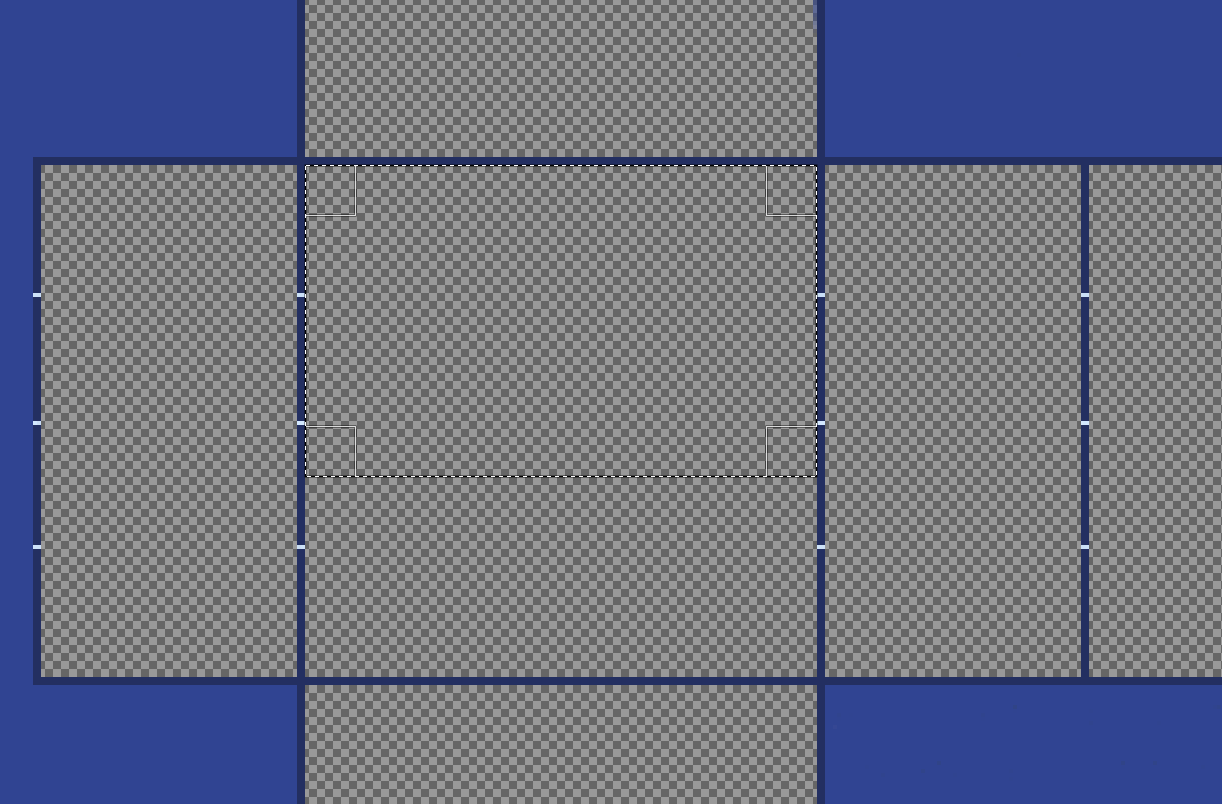
select the torso part
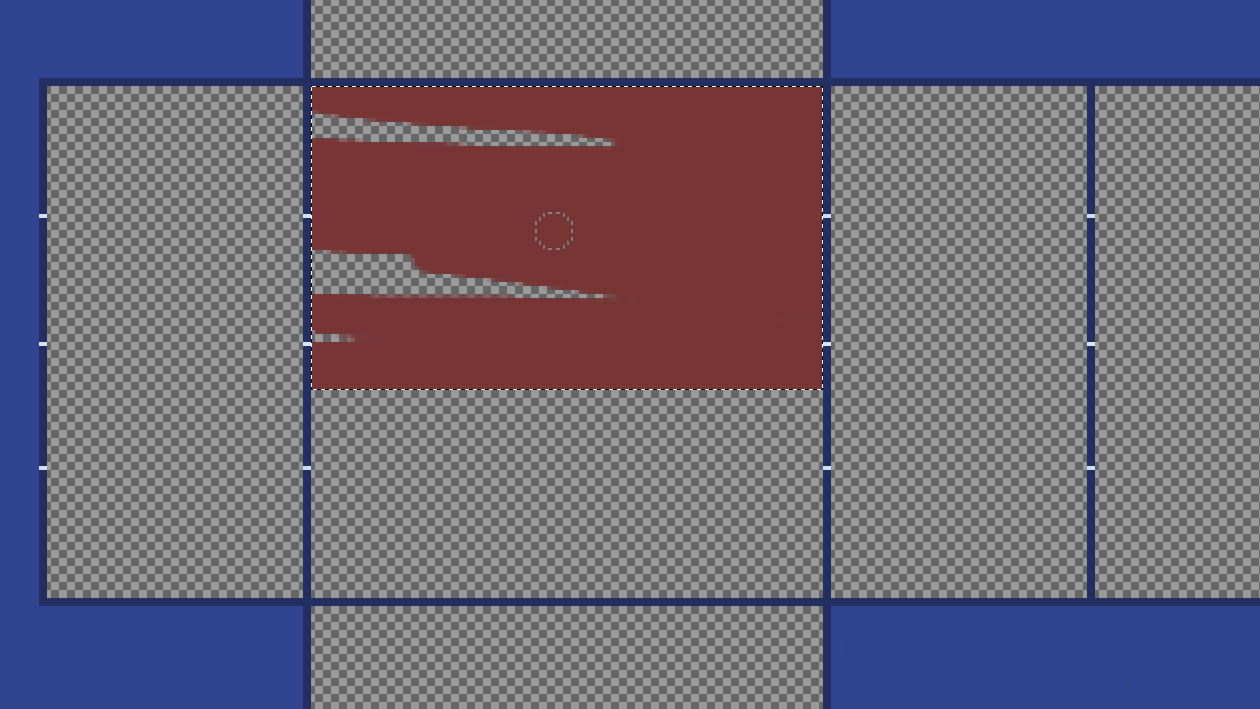
color in the selection
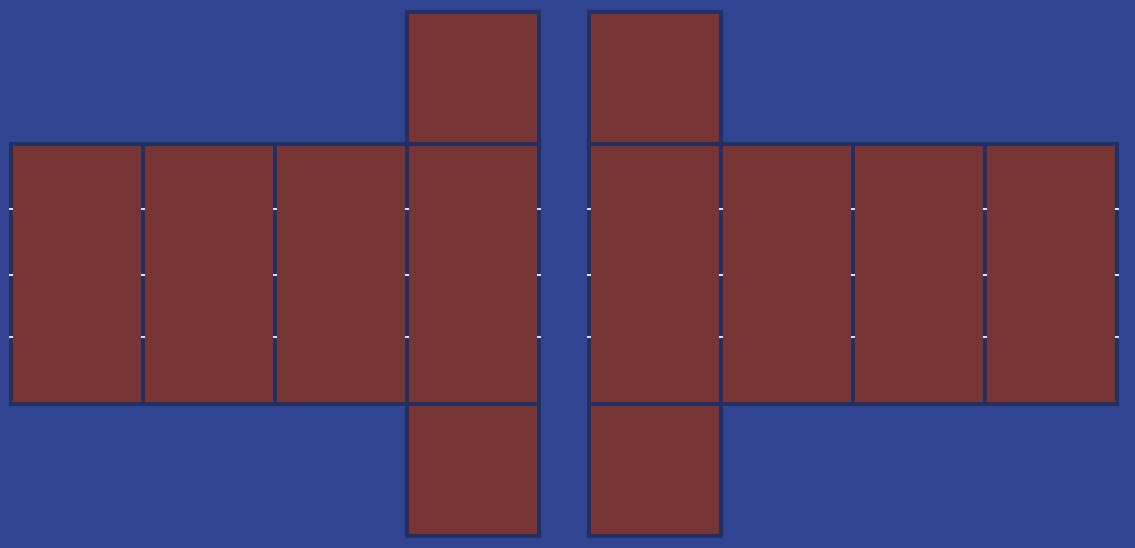
do the same for the sides, back, and top
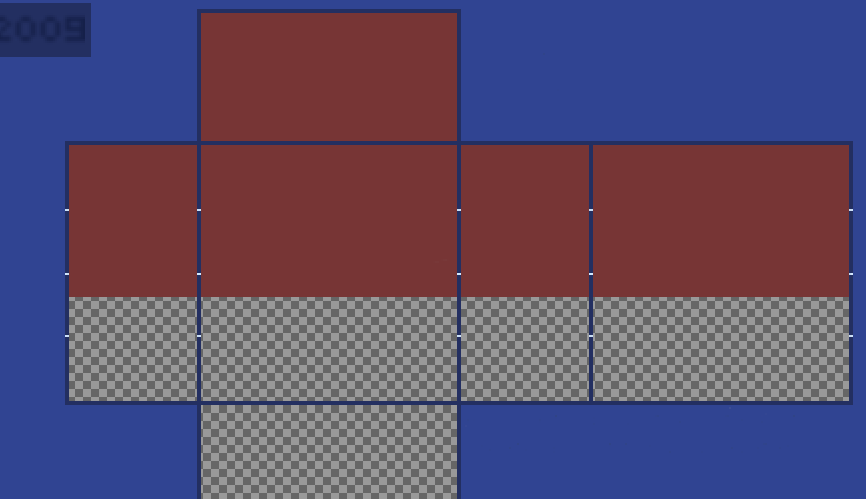
also fill in the arms
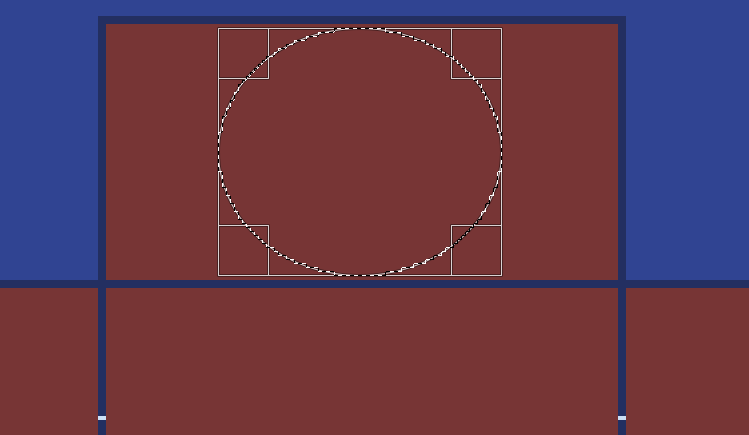
select a circle for the neck hole
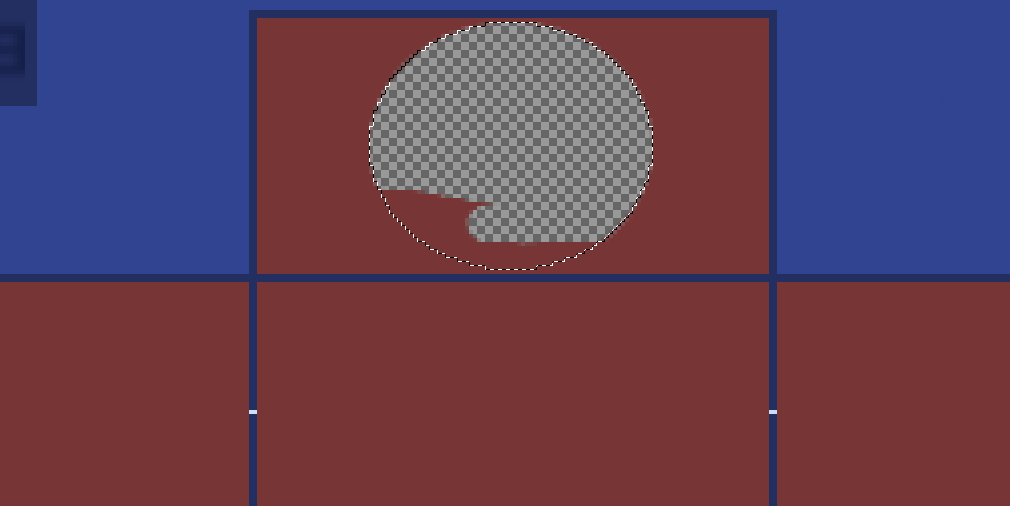
now erase it
Step 5
now to test it. we want to test BEFORE adding shading in case we have to change something. the easiest way to do this in roblox studio (actually its the only way I know about). you need to first have exported your shirt into a png.
open a world

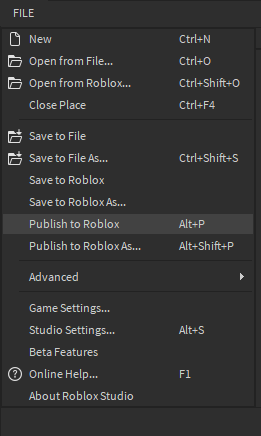
publish to roblox (in file)
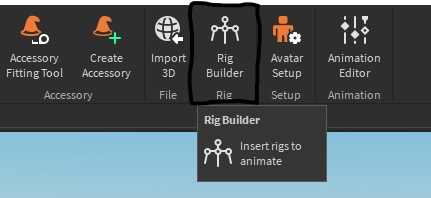
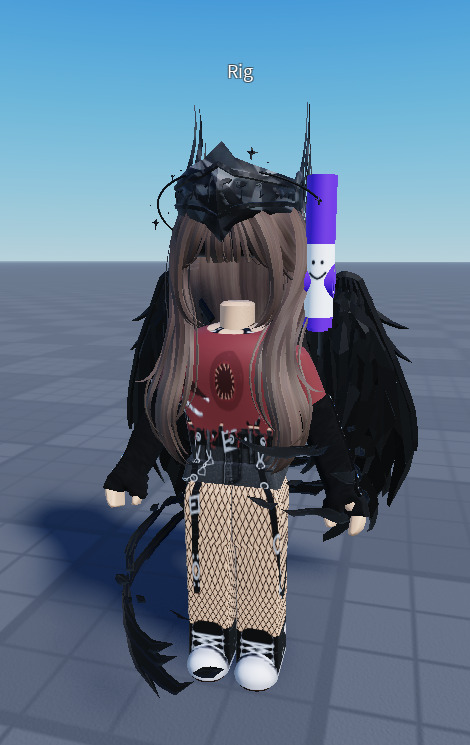
click avatar at the top

click rig builder
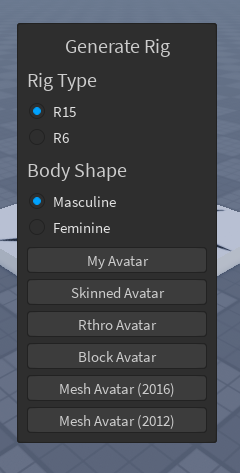
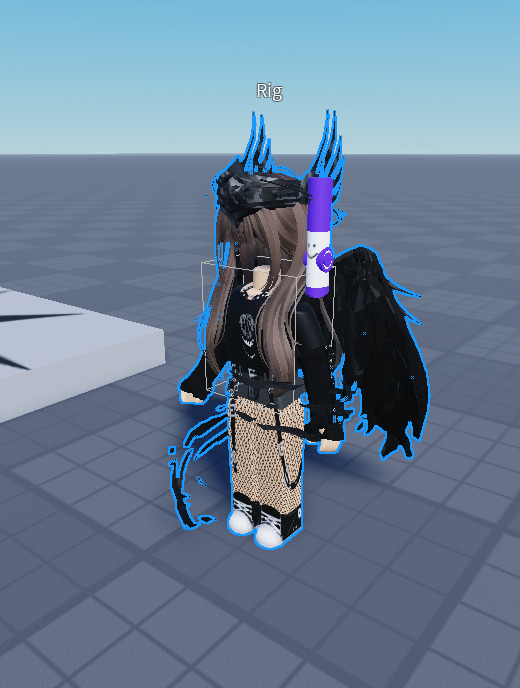
choose a rig (I recommend using your avatar)
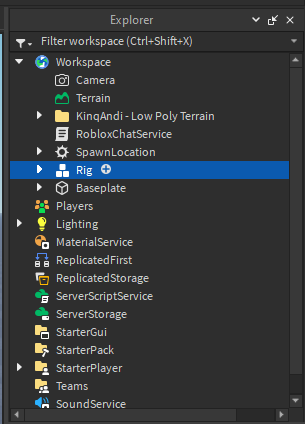
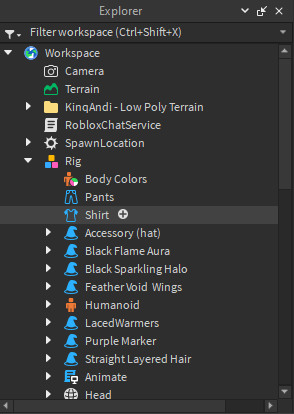
open the rig in the explorer

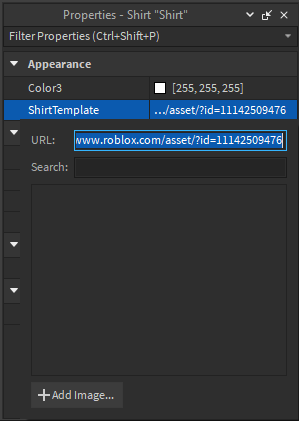
click the shirt object
in the properties section, click shirt template
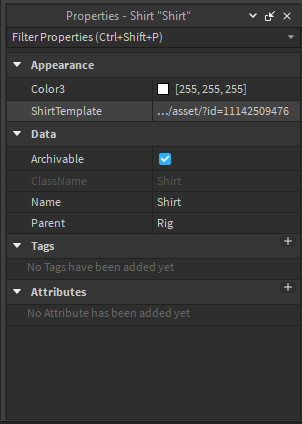
click add image
choose the file of the png
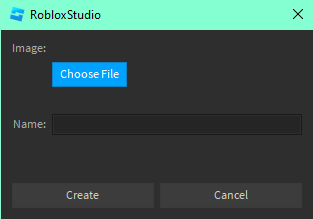
click create
now you can decide if you want to change anything
Step 6
now we shade! first add a new layer above the base
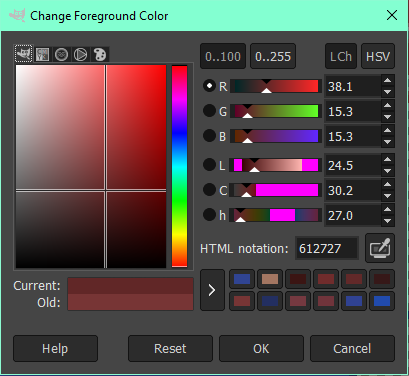
you’ll want to pick a darker color than the base color
now set the opacity to 65, the hardness to 30, and the force to 60
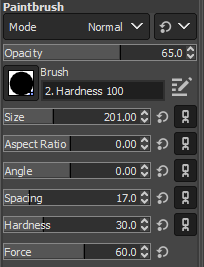
change the size to a bit smaller than the neck hole ( I have the size at 200 and the zoom at 400%)

select the shirt
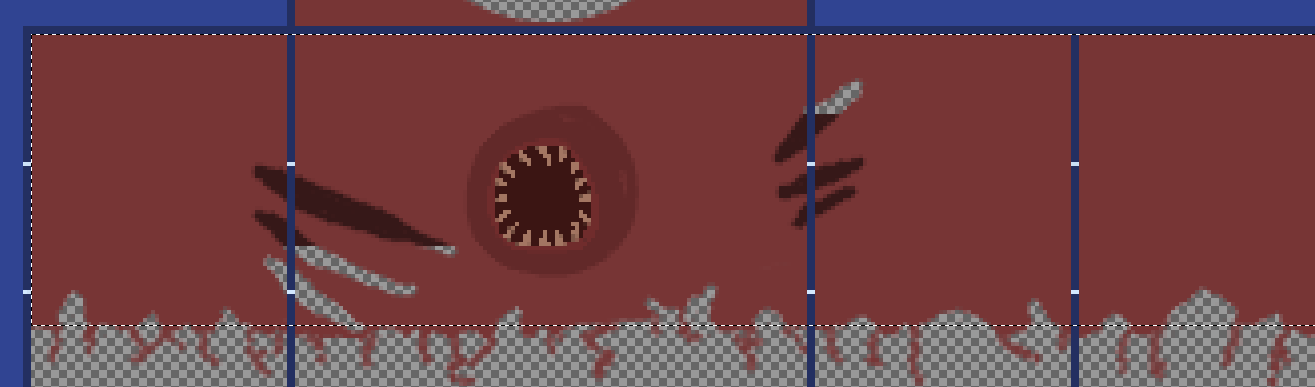
add shading along the edges
now do the same with the arms and top

you can leave it like that and skip to the next step or you can make it look more realistic with folds
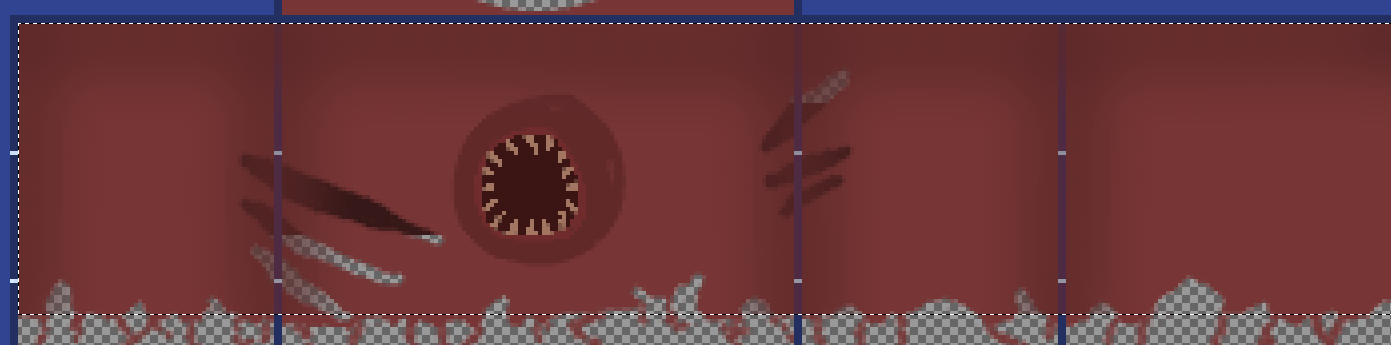
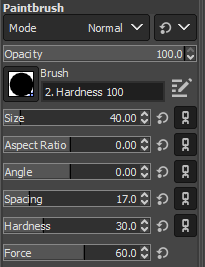
if you want to add folds, add a new layer above the first shading layer, change opacity to 100 and make the brush smaller (I’m using size 40 on 400% zoom)
now add lines where the folds would be (you can look at pictures online of clothes for reference)
Step 7
now to upload (first export the shirt as a png)
go to create on roblox

go to the dashboard and click avatar items, then change the filter to classic shirts

click upload

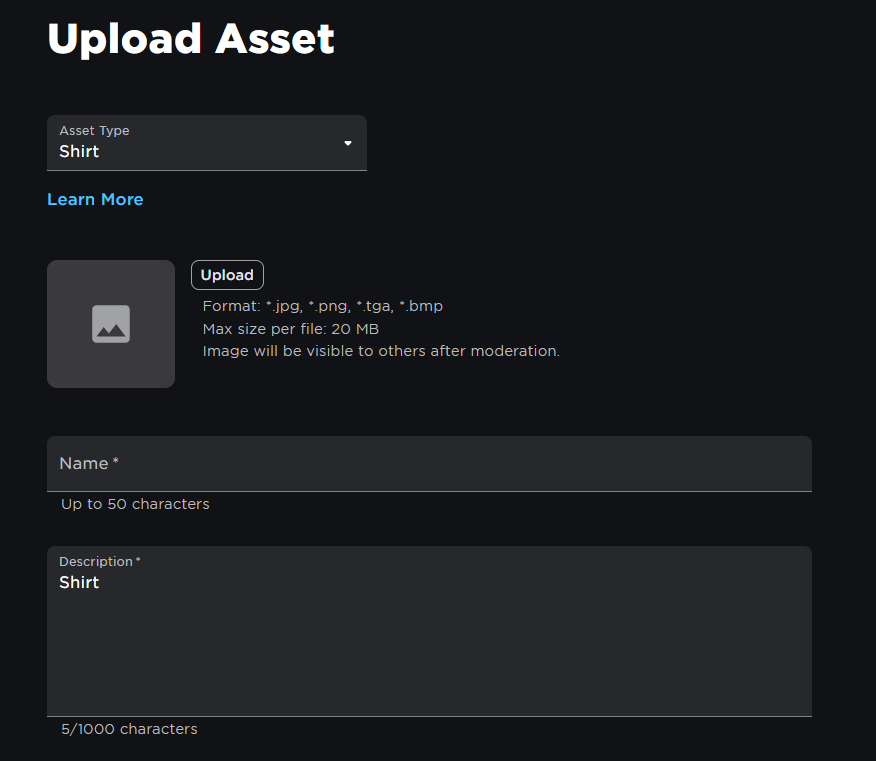
choose the file, name the shirt, and upload!
I hope this was easy to understand!
Tips
be creative
look at pictures for inspiration
take breaks
DO NOT STEAL
Have fun <3