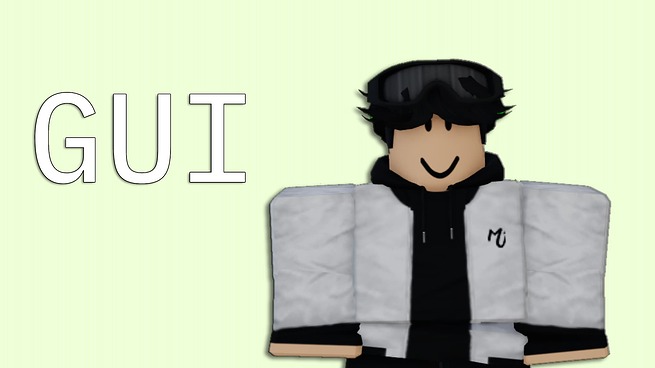
Hey there! I am MinJ_42 and this is my guide on how to start or improve on making GFX. If you don’t know what GFX is, it stands for Graphic Effect(s). GFX can be like GUI, Icons, Thumbnails, etc. Make sure not to mix it with VFX or SFX! This is my real first Forum tutorial so I might not be the best at doing this but I’ll try. (Everything in this guide is 100% free and is fully age appropriate!) I put a lot of effort into this tutorial so it would mean everything in the world if you guys enjoy.
I’m first going to explain how to make Icons or Thumbnails first then I’ll move on to GUI. (You can also keep scrolling through the tutorial until you find the GUI section.)
To get started, open Studio and open one of your games or a new baseplate and you will need these:
-
(OPTIONAL) A character loading plugin or this.
-
A photo editing software/website. I mostly recommend Photopea as it is free and is very simple to use.
AND
- A clear vision in your head of what you want to make.
So now that all the materials are listed, lets move on. There is two simple methods you can take. I’ll start off with one of them. The first method is you can go into your game or use this if you want, it leads to a useable Green Screen. Next thing you want to do in the game you chose, do a emote/pose of your choice. Then take a screenshot and upload it to your computer by pressing Alt + 1 on your keyboard. (Make sure you have the Captures feature enabled in the Roblox menu.)
Once you have done that, open your photo editing software and open your image. I’m going to use Photopea in this tutorial so if you’re using something different that’s fine it’s just that it might be a little different. Open your image into what you’re using then if you want to, remove the background
and if you want to, play around with all the different types of filters and tools and learn them as you use them. I don’t really use filters as I feel like it’s just too much. Here are some commonly used Blending Options:
-
Satin (Adds a darkening/shadowing effect to your image.)
-
Color Overlay (Pretty self-explanatory.)
AND
- Drop Shadow (Also self-explanatory.)
You can also search up images on the internet and copy them into your work. Once you finished, export it either as a PNG or JPG.
That was it for Method 1, now onto Method 2.
Open up Studio and go into a baseplate or game and load a character using the plugin. R6 is recommended for starters while R15 is a little more complex. To select a individual part in a model, hold Alt while selecting a part. You can also select many individual parts in a model by holding Alt then holding and dragging your mouse over the parts you want to edit. You can then Rotate, Scale, and Move your parts. Do this with your avatar and make it into the pose you want, also it is completely fine if you use a prop from the Toolbox or a decoration. There is nothing wrong with that. Another thing that a lot of people don’t know is that you can edit the FOV with your Camera in Workspace with the Properties tab. Then take a screenshot once you have it like you want it, then do the same steps with editing like in Method 1.


