-
What do you want to achieve? Keep it simple and clear!
I got a tool that when you activate it, it will change the player character into another custom character I have in the Replicated storage
-
What is the issue? Include screenshots / videos if possible!
It works but the custom animation script and movement script I got in StarterCharacterScript won’t work for it. the camera won’t work either
-
What solutions have you tried so far? Did you look for solutions on the Developer Hub?
i tried to put all the starter character script inside the custom character script before it was clone and turn into a playable character but it doesn’t work
here’s the script inside serverscriptservice
local ReplicatedStorage = game:GetService("ReplicatedStorage")

local Rider = ReplicatedStorage.Riders.RiderW
local Model = Rider.RiderW

local SetupEvent = Rider.Event.Setup

SetupEvent.OnServerEvent:Connect(function(ply)
	print("Recieve")
	local RiderW = Model:Clone()

	RiderW.Parent = game.Workspace
	RiderW:SetPrimaryPartCFrame(ply.Character.PrimaryPart.CFrame)

	for i, v in pairs(RiderW:GetChildren()) do
		if v:IsA("LocalScript") then
			v.Enabled = true
		end
	end

	RiderW.Name = ply.Name
	ply.Character = RiderW
end)
What you could try is grabbing the shirt, pants and all accessories from the custom character and moving it to the current character. After removing them all from the current first.
Tell me if this doesn’t work or if you need help doing it.
The custom character is just a bunch of meshes welded on a blank r6 rig, so it doesn’t have any shirt, pants or accessories.
Okay, so then you would probably have to convert all the meshparts into accessories so you can easily parent them to the new character.
I’ve done it before and I haven’t run into any issues with doing it this way.
And if the hat/helmet and others is multiple then you can weld them together and make the main part the one with the accessory attachment.
Thank you for the suggestion, can you also explain how to make the meshes into an accessories or a tutorial on how to do it? That would be very helpful because I haven’t done that before.
I’m about to leave for the day but for a quick explanation:
First, find the part you want to be the main part, then rename it to “Handle”.
Second, put it under an accessory instance.
Next, put all of the other parts in the group as a child to the Handle, then create a weld constraint between the child and the handle per part.

After that then you will want to either locate an existing attachment or create your own attachment in the character’s torso as seen below: (These are the default ones)
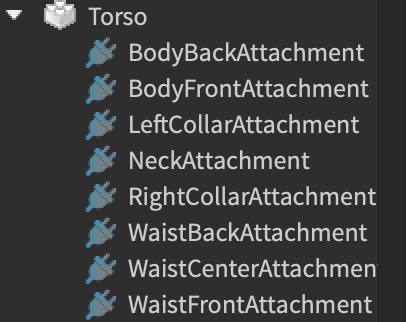
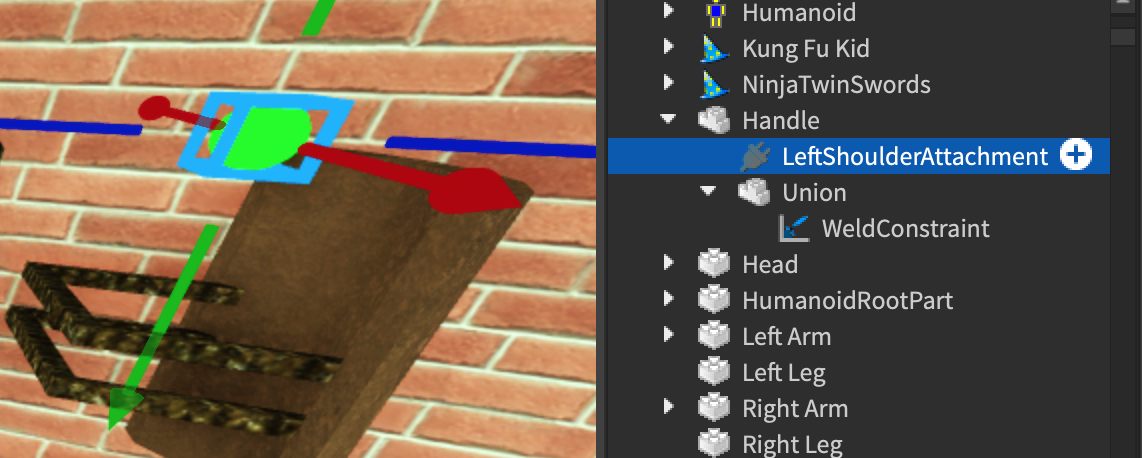
Then you will want to duplicate that attachment and put it inside the handle like so:
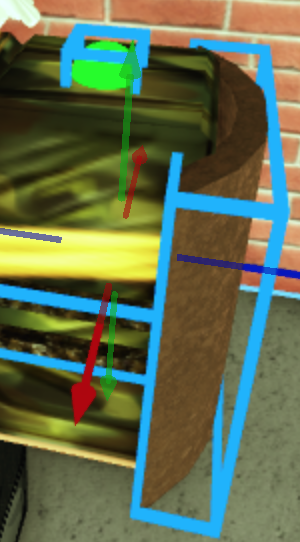
After it is in the Handle you will want to position it so that the attachment is where it would normally be and then move the other parts to fit.
Now the movement with attachments can be buggy and weird so to make sure you got it working correctly, cut or copy and remove the whole accessory and then right click on the character and select “Paste Into Selected at Original Location” and if it appears in the correct spot then it should work.
Sorry if this is confusing as I am very tired and will be leaving to sleep now.
I am willing to help you more later today if you are still having some trouble.
1 Like
Thank you so much, this helps a ton. 
1 Like