Paint Punks is a paintball game I have been working on for quite a few months now. The game is inspired by the original Mad Paintball in which players can choose from a selection of characters to play as, each with their own unique characteristics. Given that I am a bit late to start making devlogs this first one will be a long one, but it’ll also give more opportunity for feedback on my designs. Let me know your thoughts!
Projectile system
The first thing I worked on was a system to spawn bullets that would travel along an arc and stop upon the first valid collision. The system is implemented using raycasts each frame to move a Part with a Beam along the arc. Upon a collision the bullet is replaced with a small ‘impact’ effect that emits particles.
Team coloring
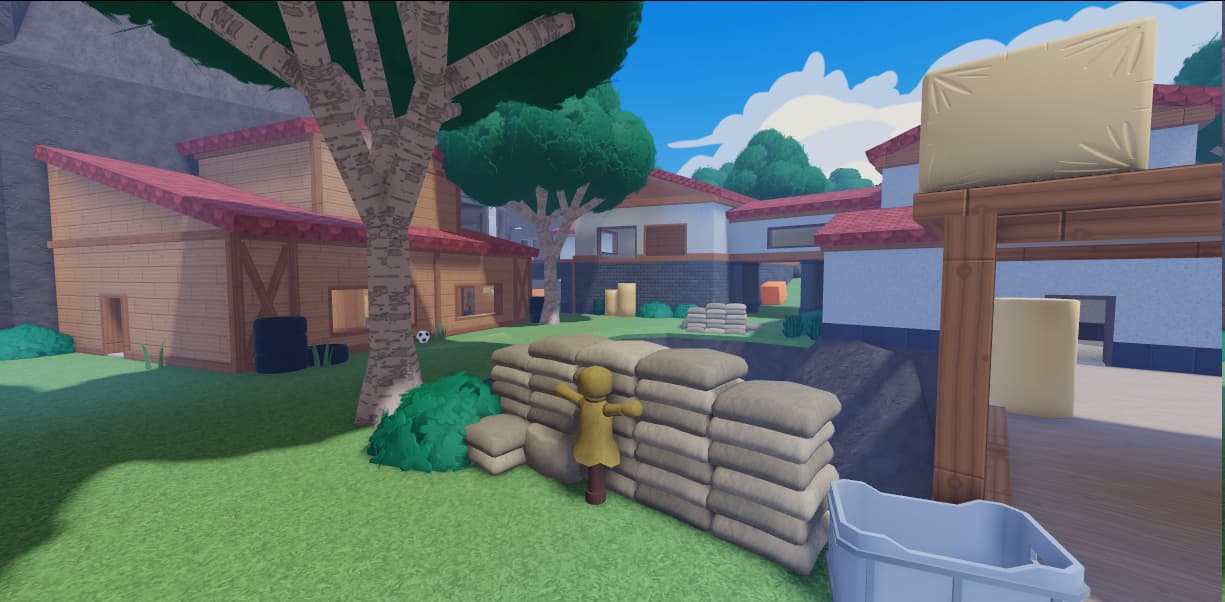
Next up was making a system to automatically recolor maps based on the team a player is part of. I decided to limit myself to having exactly 2 teams at all times, Alpha and Beta. A player will always see objects that are part of their own team as ‘blue’ and enemy objects as ‘orange’. I used CollectionService to tag these objects that can be recolored. Attributes were then added to define the specific colors. A LocalScript was then used to detect team changes and to recolor objects automatically. Here is what that looks like in action.
Characters
The next thing I worked on was a custom character. I found Roblox’s out-of-the-box character system to be very limiting and the timely release of the new physics controllers was a good chance to try something new.
I created a single deformable mesh in Blender and added a capsule collider on top in studio, plus I added some attachment points for accessories. The plan is to have one base mesh for male and female characters each. Then, accessories will be added on top to create a selection of different characters to play as.
Character mesh
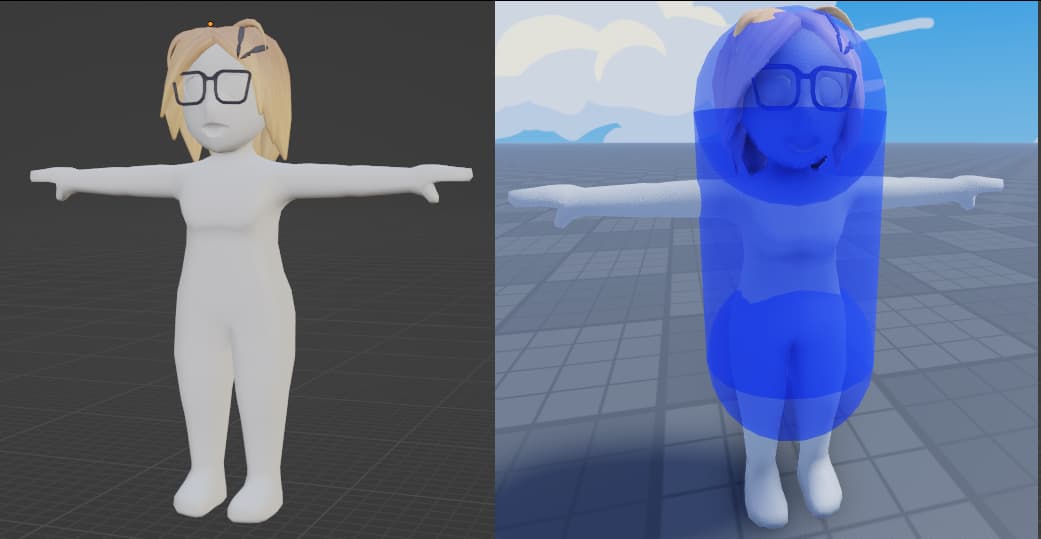
left: Blender, right: Studio w/ capsule collider
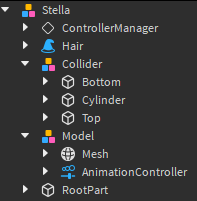
Because I am using a custom character I was able to simplify the character hierarchy a lot compared to default R15 characters. Only a few BaseParts, no random Value objects and no more Humanoids.
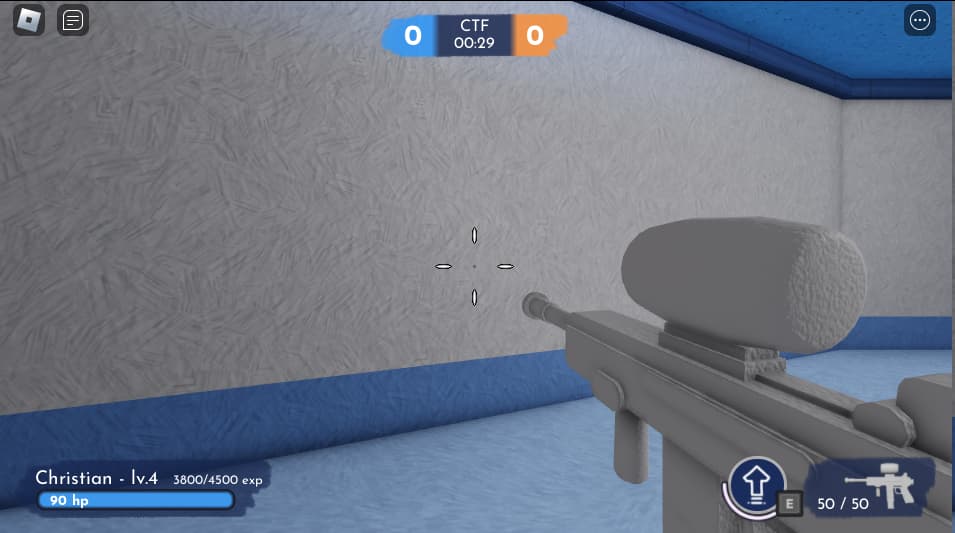
Weapon viewport model
Game feel is very important and so while I was working on creating the custom characters I also started working on a proper weapon to display in the first-person view. The weapon would also be animated to show weapon swing for different actions like running, jumping and aiming down sight.
For the weapon I used Dalle3 to generate me some weapon concepts that are a blend between paintball guns and more common weapons. I ended up with one example I liked a lot and created a mesh in Blender that tweaked the design a bit.

Getting the weapon to display properly in the viewport with realistic weapon swing was very tricky. I went through 4 different iterations before finally ending up with something I liked a lot. The hard part was interpolating between different states while maintaining smooth motion, but the hard work paid off.
Map styles
The next thing to figure out was the art style the game was going to have. I wanted the game to feel like players are participating in a game show, so many assets are based on studio props, cheap materials and everyday items.
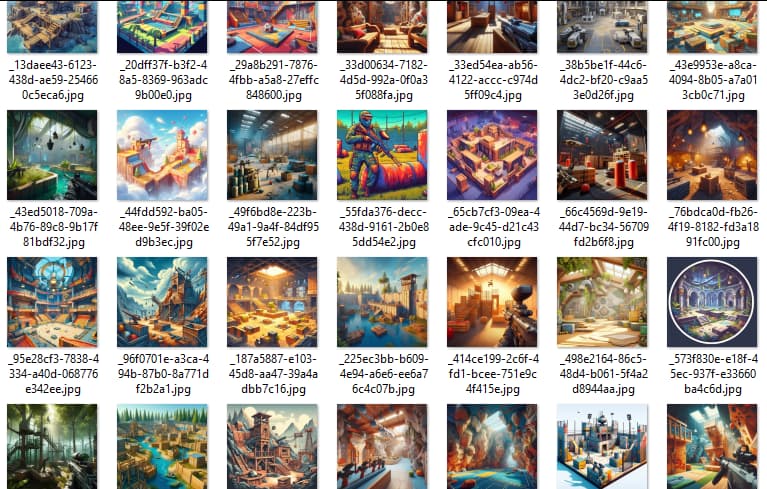
I used Dalle3 again to generate me concept art for maps based on the themes I was going for. Surprisingly it gave me a lot of very solid results, which quickly overflowed my disk space.
My poor SSD
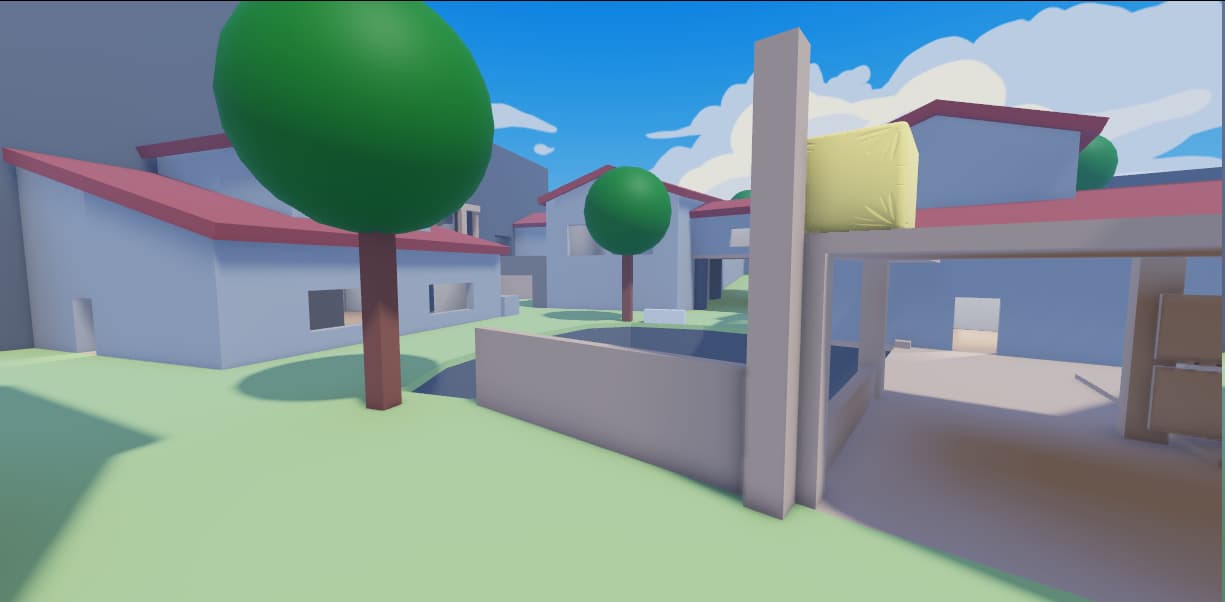
I had already built a greybox map prior to test a few things, like the game loop, team coloring, and so on. I decided to transform this greybox map into a finalized map for my game’s ‘vertical slice’ so to say. I would be using it as reference material for other maps, game interfaces, character designs and so on.
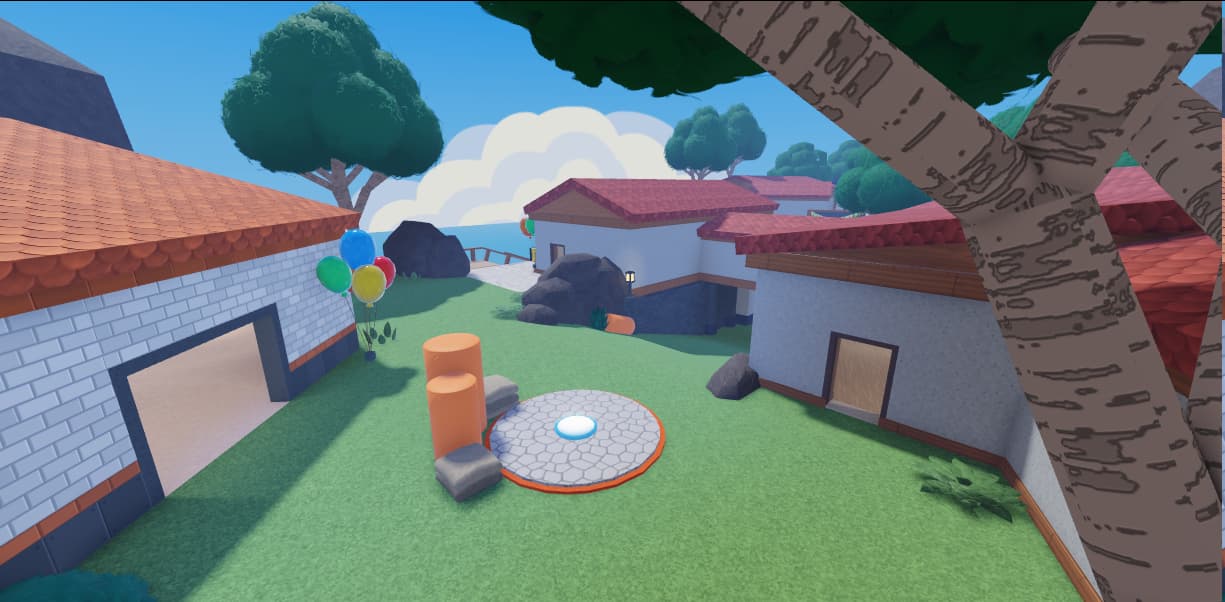
Here are some before and after shots of a couple places in the greybox map.
Map center
Beta's base

I reused some assets and the materials from my previous game - Pitfall Peril - because I liked them a lot and it helped me put together this map in a very short time.
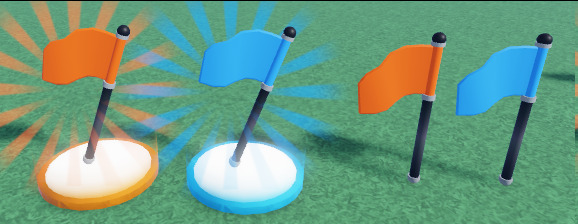
Capture the flag
With the new map in place I took a few days to implement a capture-the-flag game mode. I designed a flag mesh which can be recolored using Color3. It also has a texture on top in which some parts are transparent so they can be recolored, while other parts have a consistent color.
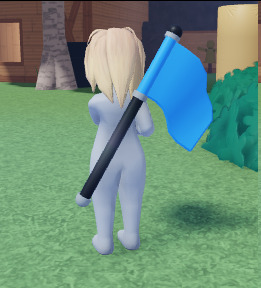
I then programmed some flag spawners which would spawn flags on top. If an opposing player touches the flag it’s connected to the player’s model through a RigidConstraint that aligns an attachment inside the flag with a bone inside the player’s mesh.
Interfaces
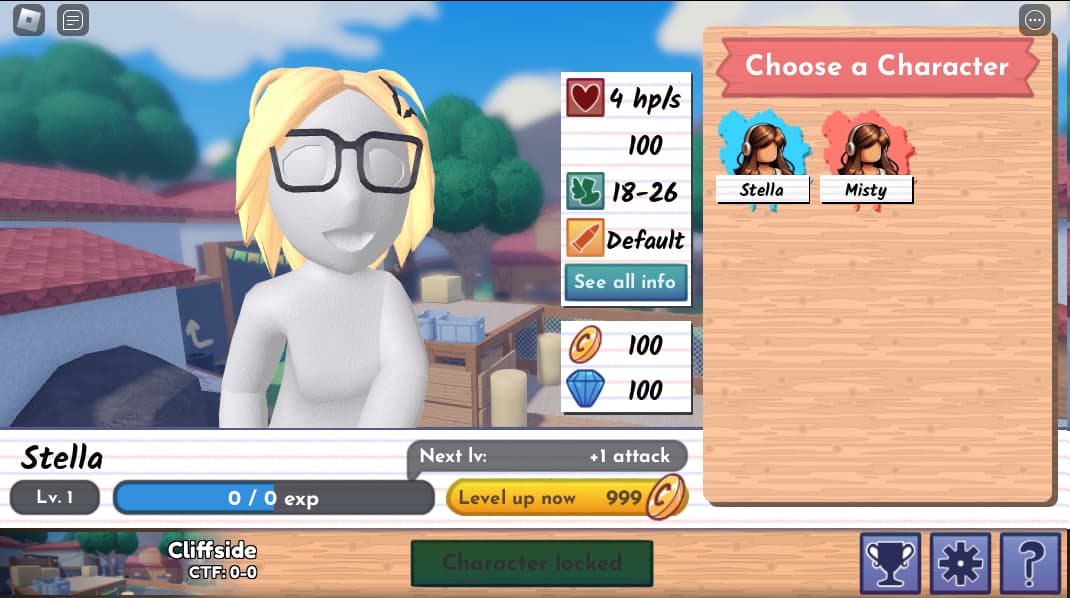
Finally it was time to tackle the game’s UI. I had already created a temporary main menu. One of its problems was how little space was given to character selection, so I decided to scratch all of it.
The old menu
I ended up with a new design that had ‘DIY’ style to it with paper and wood incorporated.
The sketch
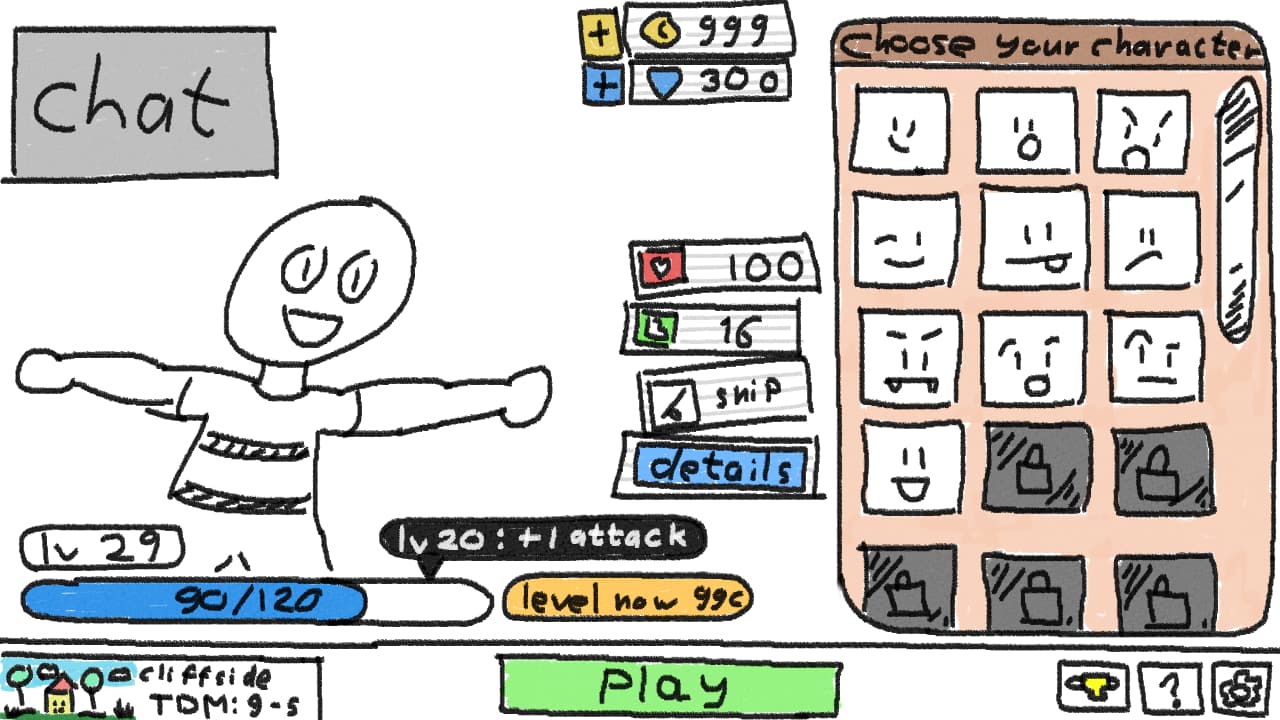
I liked this design a lot and then implemented it with only a few minor tweaks. It still needs to be properly programmed and there are some final touches missing as well Many of the icons were designed by a friend of mine.
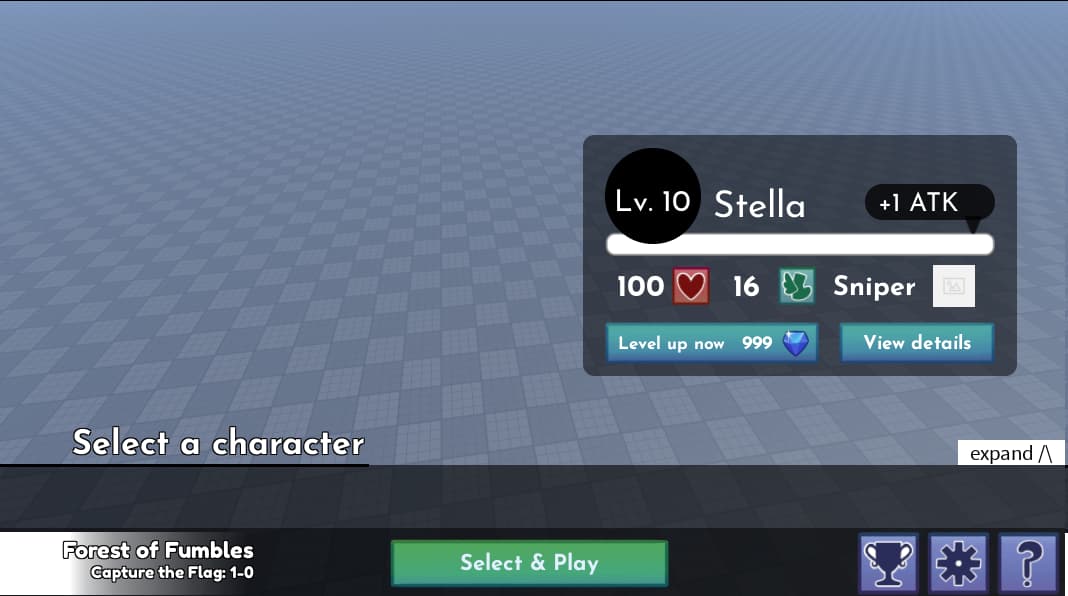
I also took this moment to design a proper game HUD. I decided to use some simple dark blue paint strokes as background elements on top of which I would display information. This is what it looks like on PC.
For mobile I designed a slightly different version of the UI in which the bottom right corner will be showing buttons for some of the basic actions like running around, jumping and shooting. I liked the idea of this circular background paint stroke on which the buttons are laid out. Icons still need to be replaced and none of this is programmed yet.
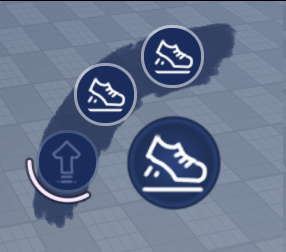
The white circular bar will be used as a cooldown indicator. Using a UIGradient I will also able to properly animate it! Though the code for that still needs to be written.
What’s next?
There are still some basic features that I need to implement that I will be focusing on next:
- Mobile controls: The game is currently not playable on mobile devices.
- Better character models: The current character model is unfinished and has some problems. Its topology is not great, proportions are a little off and the character hasn’t been rigged correctly. Now is the time to change that and create a finalized character model.
- Abilities: Each character will have its own unique ability they can use in battle. These will range from healing a teammate to increasing your damage output or even placing down turrets.
- Breakable barriers: The game already has some basic barriers only certain teams can shoot bullets through, but I want to create barriers like in Overwatch that can be damaged and destroyed.
- Character unlocking: Right now there is no way to unlock new characters in the game yet. Characters can gain experience points, but you are not awarded any coins yet and there is no way yet to unlock new characters to play as. I am still working on figuring out how to best award coins.
- Character details: There is no good way yet to see what the stats are of each character. The goal is to add another interface inside the main menu to show all this information.
Once this is all done it will be time to add more content to the game. More maps, more characters, more weapons and more abilities until the game is ready for release.
If you have any thoughts, let me know!

