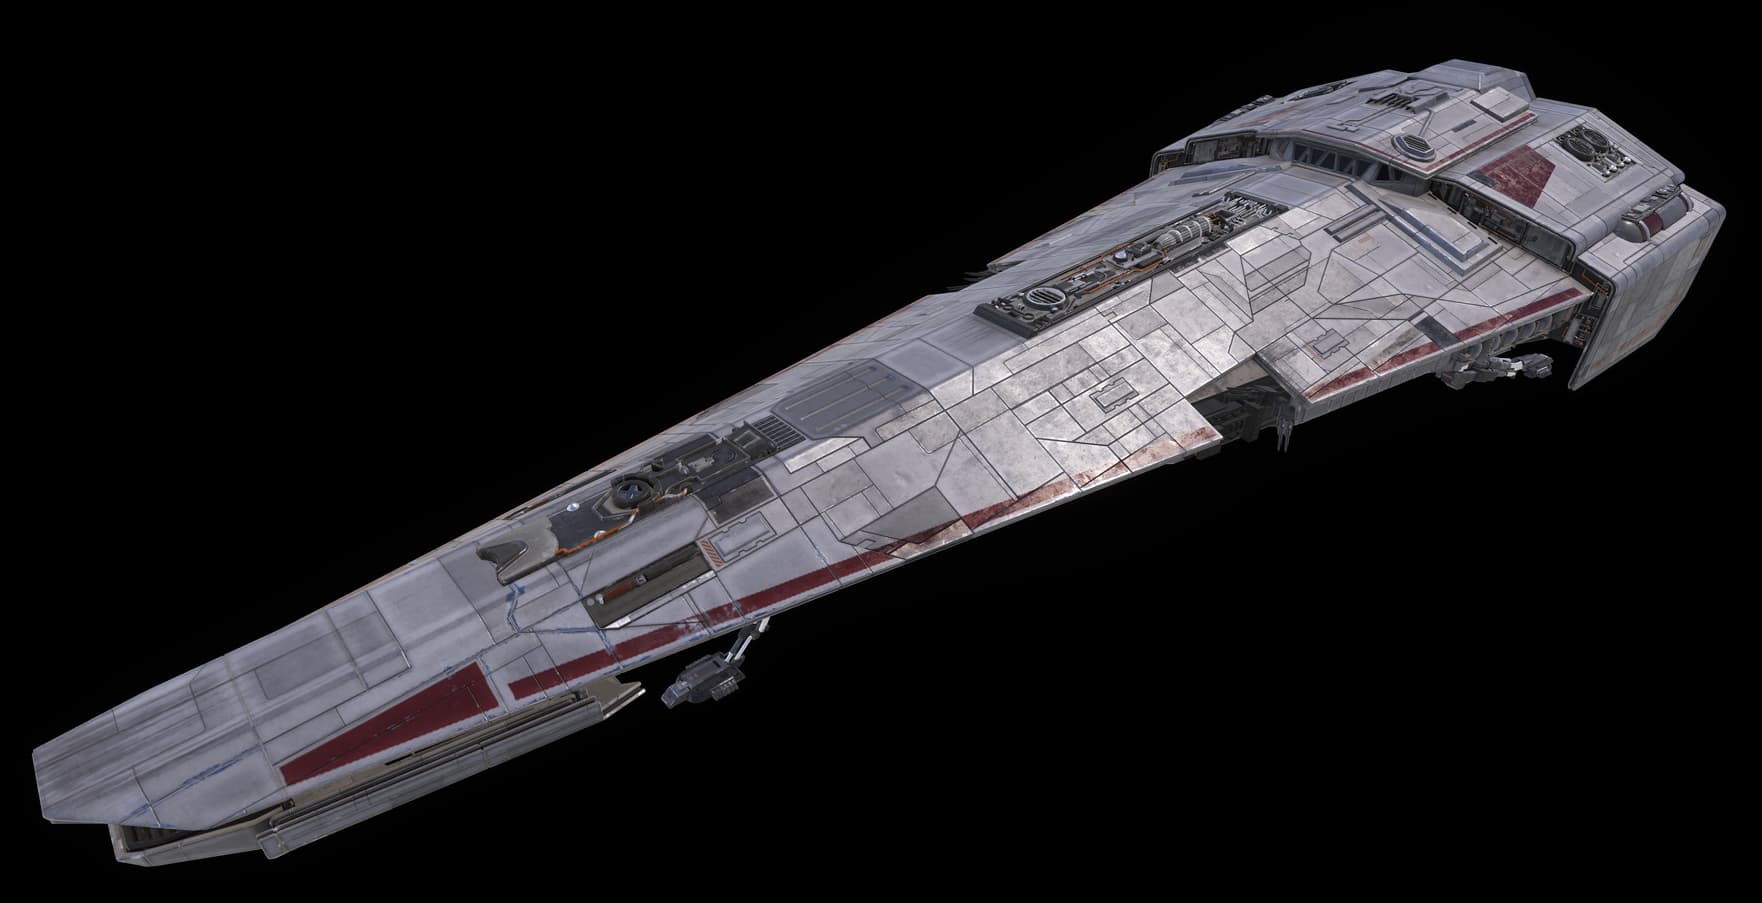
So I’m trying to make a ship, for the game Starbase on Roblox (because they let the community make ships) and I’m wanting to make a ship similar to the Corvus from Star Wars Battlefront 2’s campaign. It has a similar design to that of the Star Destroyer, which you can see a picture of the Corvus below, but I’m wondering the best way to make this ship would be? The ship has to be made in studio. Anything helps, thank you!

6 Likes
I suggest using Blender then importing it into Roblox Studio because Blender has way more modeling/building tools than Studio.
Or… if you want… you could buy a 3D model of it from a 3D model selling website and then customize it a bit… Not sure if this is allowed though.
2 Likes
It looks fairly simple if you were to remove all small details. The best way to recreate large buildings is to break them down into parts.
-
The rear “booster” section for example looks like it could be made with a couple wedges and parts.
-
The body in front of it could be created with tilted unioned parts and wedges.
3 Likes
If you were to make this in studio you would need to be an exceptionally good builder or use a lot of plugins. Using blender or some other 3D software is your best way.
4 Likes
Adding onto what @Crazedbrick1 stated, I would “block out” your builds. Here’s a homemade tutorial on what that would look like. 
First off, the basics. Start with the overall look and shape of what you’re going to build.

Second, add some very slight detail, in this step you’re mainly just changing the shape and overall look of what you’re building.

Third and fourth steps are essentially the same; keep adding details and make the build more aesthetic/true to your initial vision.

The later steps (in this case fifth through sixth step) are a bit more defined. The build is now clearly taking shape and its overall design is pretty much set in stone.

The next steps are basically used to add details (large and small) and make the build more aesthetic. By this stage in the modeling process, the build’s overall shape and design are finished, you’re just focusing on getting the build closer to perfection.

Now you have the finished product! You can sit back and relax after a job well done! 

Important Note 1:
Make sure to keep all stages of the builds a certain amount of studs apart from each other. Each stage must be exactly the same amount of studs apart (e.g. 15 studs, 25 studs, etc.). Why? Because if, for example, you make a mistake or a certain part of the builds gets deleted, you can duplicate that part of the build from a previous stage and reposition it on the current stage. For example, if you accidentally delete the tires on an epic car you’re working on, and you’re currently in stage six, you can just duplicate the tires from stage five and move them 15 studs (for example) to the left (or right) into stage six. Problem solved!
Important Note 2:
Notice how in the below picture, the stages are even (along an imaginary line if you will) beginning from right to left, and then at stage 11 the build shifts up? That’s because I made such a drastic change in the overall design that I needed to create a new line (a new version even). That way your line of stages stays organized and you can easily view each version of your build.

Hope this help you out friend! Let me know if you have any feedback and/or questions! Best of luck, and keep me posted on your build! 
5 Likes