Hello Developers!!!
Today I’ll be showing you how to create your own external datastore meaning you can access all your games data anywhere through http requests.
wHaTs ThE pOiNT iN tHiS?
Well lets say you wanted to link two experiences together by having the same data you can do this. Or maybe you want to access your datastore on Discord and link it to some sort of roles. There is a lot of things you can do with this.
I wouldn’t really recommend this topic for absolute beginners but I’ve created a tutorial video on how to set it up and I’ve tried my best to make the write up on this topic as clear as possible. If you don’t understand something feel free to reply to this topic and I’m willing to help.
Start Of Tutorial
Requirements
- A virtual private server
You can get a free virtual private server with digital ocean. Watch this video Video Link
Creating A VPS
For the people who want the video tutorial its here → Tutorial Video
Firstly click create droplet

Choose any region you would like, its entirely up to you. For my sake I picked London

Now for Picking the OS image you need to choose Ubuntu and 22.10x x64 for the version.

For the CPU options pick Premium AMD and the plan is up to you. Please note you get a free $200 credit with digital ocean but I would recommend the $21/mo because that’s all you need.

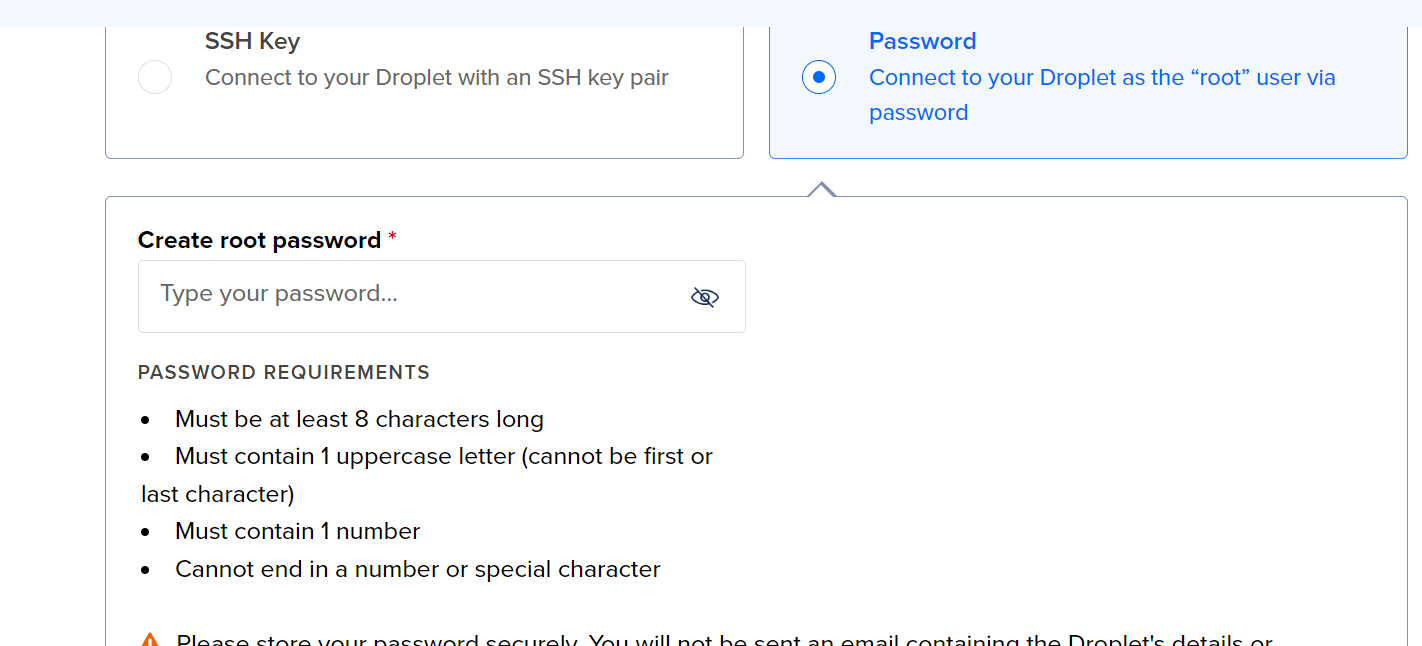
Create a password for the VPS
You can choose any hostname for the sake of the tutorial I named it “Tutorial-VPS”

Then click create droplet it

It will take about 1 minute to create it but once its done it will show

Click the 3 dots then click access console

Then click console
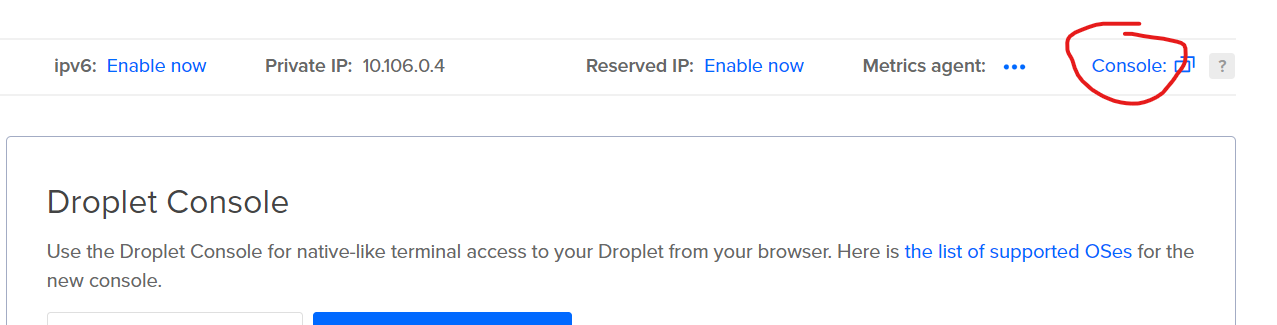
It will take a couple of seconds but then a console will appear and it should look similar to this.

First of all we need to install all the packages to run our external Roblox datastore. You’ll need to run the following commands
sudo apt update
sudo apt install nodejs
sudo apt install npm
sudo apt install git
If it asks you to say yes or no just select yes. For the people wondering for what we just entered into the console let me explain it to you. The first command “sudo apt update” is used to update is used to update the package index files on the system, which contain all the versions for the packages. The second command is what our server is built on and the npm command will allow us to install all the node modules. Finally the git command is used to download the server from github.
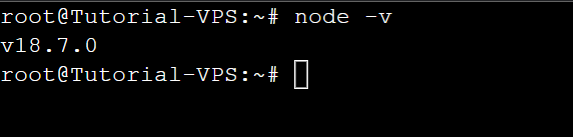
We can now check if node is installed by typing this command.
node -v
The next step is to head to the home directory we can do this with the following commands
cd ..
cd home
We are going to download the server to the home directory. Type the following command
git clone https://github.com/nopjo/Roblox-Datastore.git
Go to the directory and check if the files are there
cd Roblox-Datastore/
ls
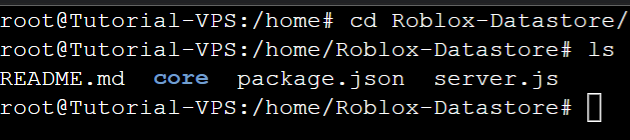
It should look like this
Next install the node modules with this command
npm install
We now need to download pm2. PM2 enables you to keep applications alive forever, reloads them without downtime, helps you to manage application logging, monitoring, and clustering.
sudo npm install -g pm2
Next we need to start the server up with pm2
pm2 start server.js

The final step to setting up the server is allowing the server to be accessed from just the ip instead of the port and ip. We can do this by creating a reverse proxy with nginx
sudo apt install nginx
Wait for it to download
Remove the default server config
rm /etc/nginx/sites-available/default

Nano to the default config
sudo nano /etc/nginx/sites-available/default
It will show this

Right Click and paste this config into it
server{
    listen 80;
    location / {
        proxy_set_header X-Forwarded-For $proxy_add_x_forwarded_for;
        proxy_set_header Host $host;
        proxy_pass http://127.0.0.1:3000;
        proxy_http_version 1.1;
        proxy_set_header Upgrade $http_upgrade;
        proxy_set_header Connection "upgrade";
        # location /overview {
        #     proxy_pass http://127.0.0.1:3000$request_uri;
        #     proxy_redirect off;
        # }
    }
}
We can now test to see if nginx will work by testing it
sudo nginx -t

After that we need to restart nginx to update the server config
sudo systemctl restart nginx
Everything should be fully working now we can test it by going back to the digital ocean dashboard and grabbing the ipv4 and pasting it to our web browser
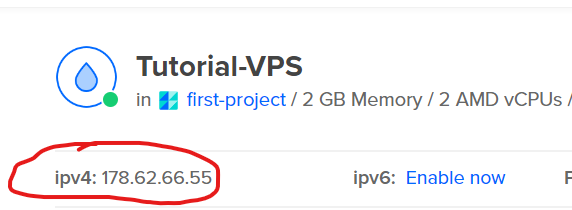
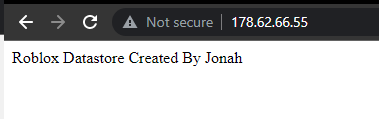
As you can see it works
If you got this far that means you’ve completed the server setup. Now its time to interact with our webserver from Roblox.
Roblox Setup
Luckily I’ve created a fully functional module script which is easy to use and works similar to the original Roblox Datastore service.
Download the module script here → Roblox Marketplace Link
Once you’ve downloaded it, you can now access it from the toolbox under “My models”
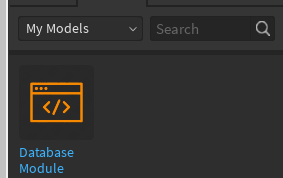
Insert it to the game and put it in “ServerScriptService”

Open the script and you’ll see a variable named url. Replace it with your ip address. Make sure its exactly like my one below (not the numbers of course but the format of it)
![]()
Example:
local url = "http://UR_IP"
After you’ve done that you can close out of it and start interacting with the module.
Like any module we need to require it. So for example we will create a new script in ServerScriptService and name it SaveHandler you can name it anything.

There is 4 functions we can use with this module
DatabaseModule.Save("KEY", "DATA")
DatabaseModule.Get("KEY")
DatabaseModule.GetAllData()
DatabaseModule.GetAllKeys()
The names are very self explanatory. The save function will save data to the database. It takes two parameters. Key and data, the same as the Roblox Database Service. The get function will get the data from the key given. The get all data function will return all the data in the database (PLEASE NOTE IF YOU’RE STORING LOTS OF DATA YOU COULD CRASH YOUR VPS, this is rare but if you have over a million users data stored it could crash.). The final function get all keys will return all the keys in the database.
Example
I’ve created a script which will use save the leaderstats for when the player leaves and when they join it will fetch the data from the database and set the given values.
local DatabaseModule = require(game:GetService("ServerScriptService").DatabaseModule)


game.Players.PlayerAdded:Connect(function(player)

	local data = DatabaseModule.Get(player.UserId)

	local leaderstats = Instance.new("Folder")
	leaderstats.Name = "leaderstats"
	leaderstats.Parent = player

	local money = Instance.new("IntValue")
	money.Name = "Money"
	money.Parent = leaderstats

	local level = Instance.new("IntValue")
	level.Name = "Level"
	level.Parent = leaderstats

	if data then
		money.Value = data["Money"]
		level.Value = data["Level"]
		print(data)
	else
		money.Value = 0
		level.Value = 1
	end
end)

game.Players.PlayerRemoving:Connect(function(player)
	local playerSaveTable = {
		["Money"] = player.leaderstats.Money.Value,
		["Level"] = player.leaderstats.Level.Value,
	}

	DatabaseModule.Save(player.UserId, playerSaveTable)
end)
In this script we once again require the Database Module. When the player is added to the game it will fetch the database using the Get function and the key is the players user id. We then create the leaderstats, money and level. If there is data on this key it will set the money and level and then print the data if the player hasn’t got any data it will be set to 0 money and level 1.
When the player leaves we create a table with the values of level and money and then save it by using the Save function. Once again this takes the user id’s and for the second parameter it takes the data.
Testing Games
For the people wanting a live demonstration I’ve created two completely different experiences where you can test this database.
Links

Step on the red part to increase your money and step on the blue part to increase your level. Step on the bin part to delete your data.
Conclusion
That is basically how I transfer and access my data outside of Roblox. If you need help with anything at all please reply and I will help you with any problems.
Thanks
Jonah aka jxnahs