In Roblox Studio and in any creative development, there are many different ways to accomplish any one task. In our creator documentation, there is a walkthrough on How to Create a Neon Sign using only 3d geometry and material choices. This quick guide shows another way, using textures and ImageLabels, TextLabels, and surfaceGUI.

1. Dimming the Environment Light for Neon Effect (optional)
Before creating your neon sign, adjust the lighting in your Roblox game to enhance the neon effect.
In the Explorer window, navigate to ‘Lighting’.
Adjust the ‘Ambient’ and ‘OutdoorAmbient’ properties to a lower value to create a darker environment. Experiment with the ‘Brightness’ and ‘Color’ properties of different light sources to complement your neon sign. You can also change the ClockTime to 0, to completely darken the environment.

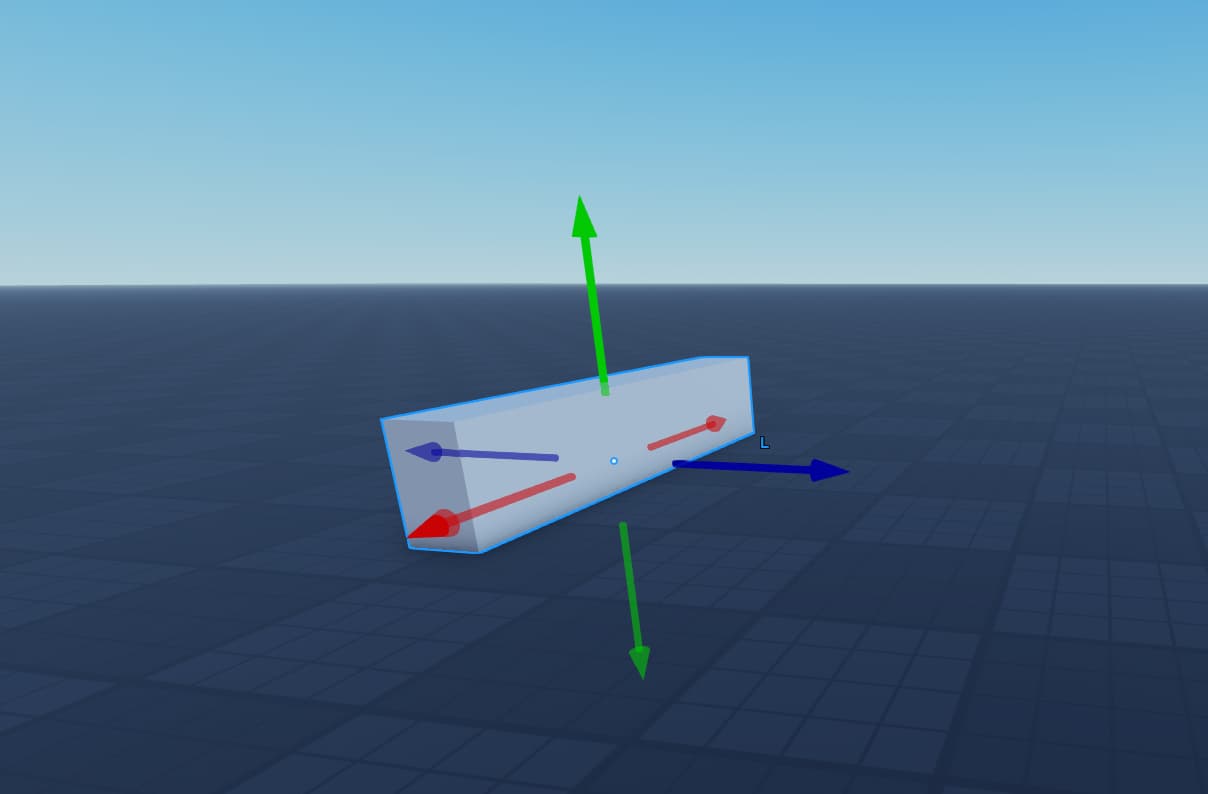
2. Creating the Sign Base
Right-click on ‘Workspace’ in the Explorer window and add a new Part for the sign base. Use the Scale and Move tools to resize and position the part.
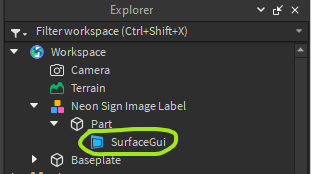
3. Adding SurfaceGUI
With the sign base selected, right-click and insert a ‘SurfaceGUI’.
4. Inserting an Image
Right-click on ‘SurfaceGUI’ in the Explorer and add an ‘ImageLabel’.
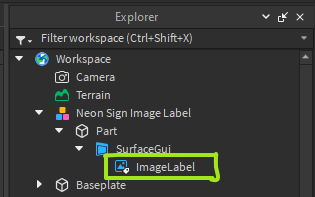
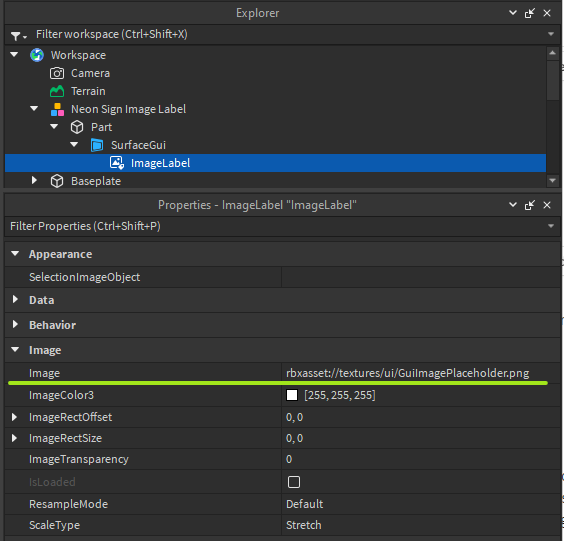
Set the ‘Image’ property to your desired image URL and adjust its size and position.
5. How To Avoid Image Distortion/Stretching?
In our example, we are using our Roblox Image with a 600x120 pixel resolution.
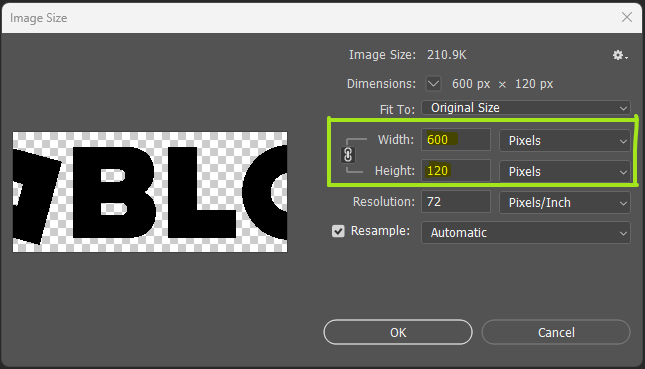
According to that resolution, we are going to change our image size properties accordingly, showing in the screenshot below.
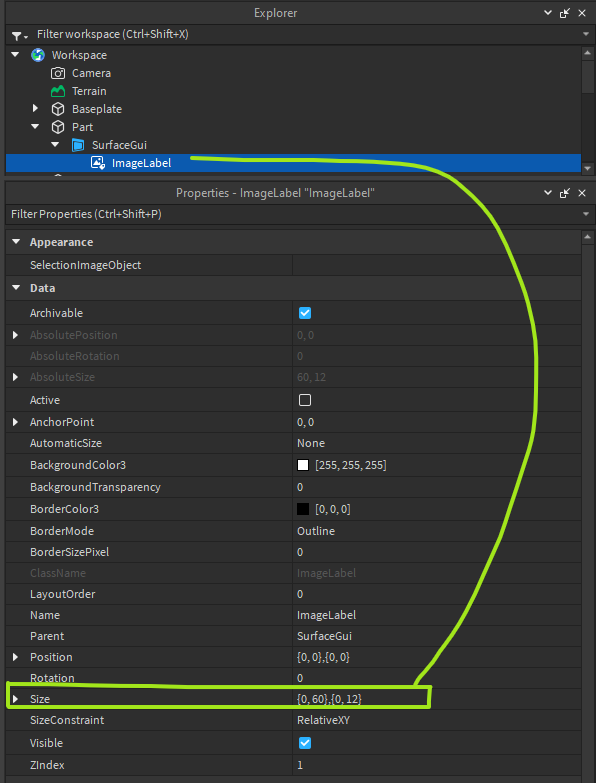
Now, we have set up the base with a Part–>the SurfaceGUI and → ImageLabel assigned.
6. Applying Neon Effects
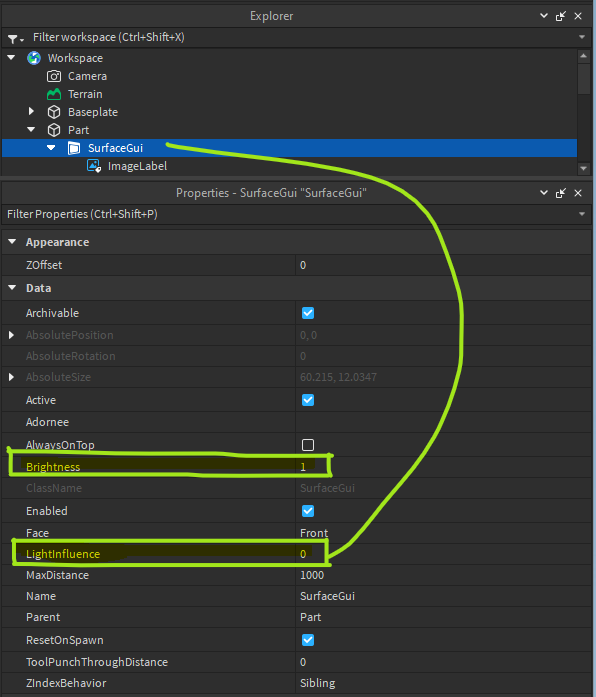
Now let’s apply the Neon Effect. To do so, let’s select the SurfaceGUI and change the LightInfluence Value to 0, which will then disclose a new field; Brightness. Next, we need to increase the Brightness value. The higher the number here, the more “bloom” effect will glow around the edges of the sign.
Since we want to have our Roblox Text White, we are going to change the image and make sure that the Font Color is white. The Background is transparent and the image is saved as a .png file that contains the transparency settings.
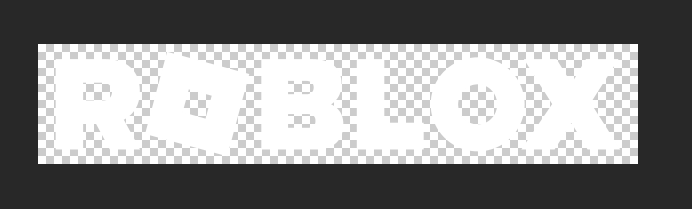
Let’s upload the new image and let’s make sure we are going to use that image as our ImageLabel. As a final result, we’ll get our Neon Roblox Sign.
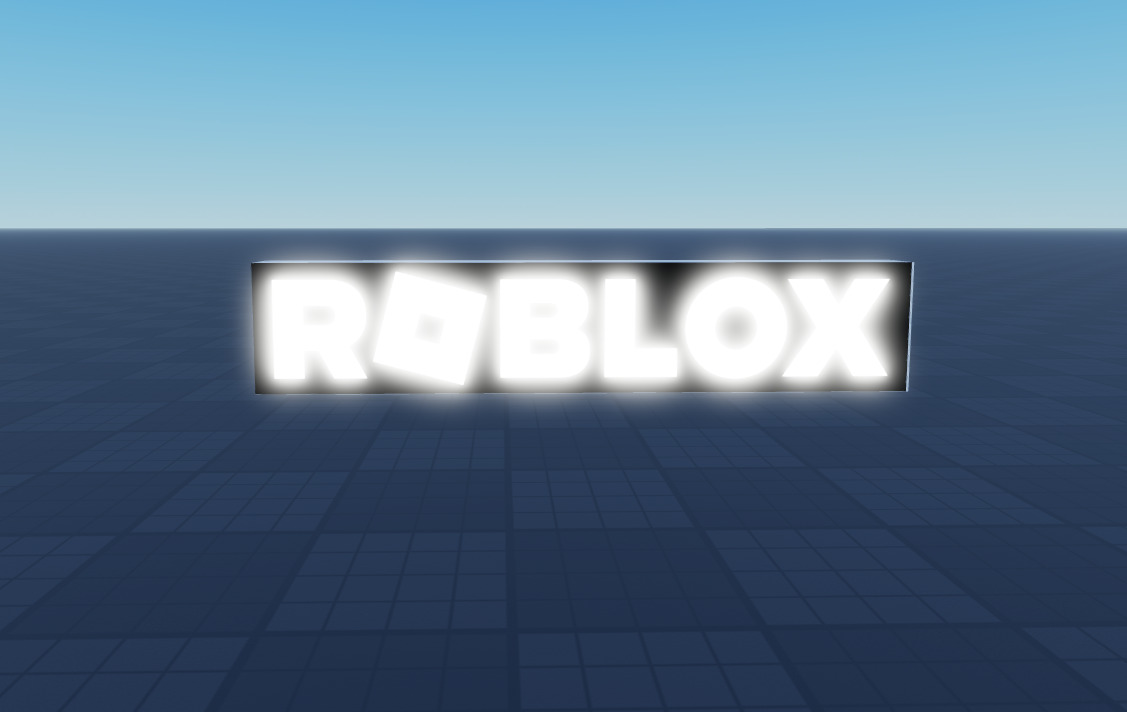
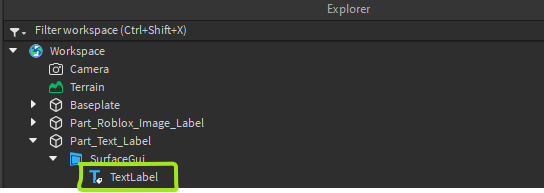
7. Adding Text Label
Instead of using an Image Label, we can also use a Text Label. We proceed like we did before, but this time, we are going to add a Text Label to our SurfaceGUI instead of an ImageLabel.
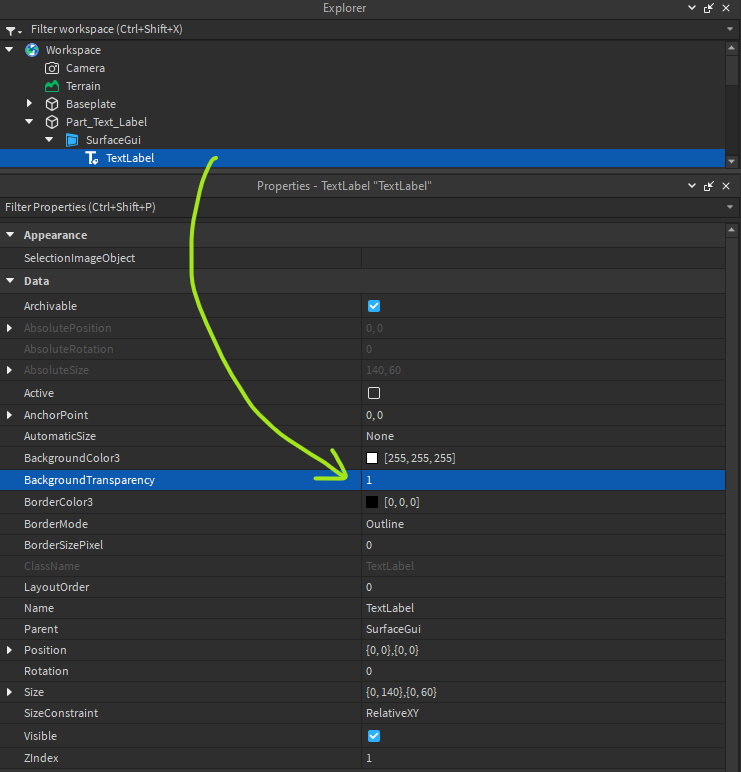
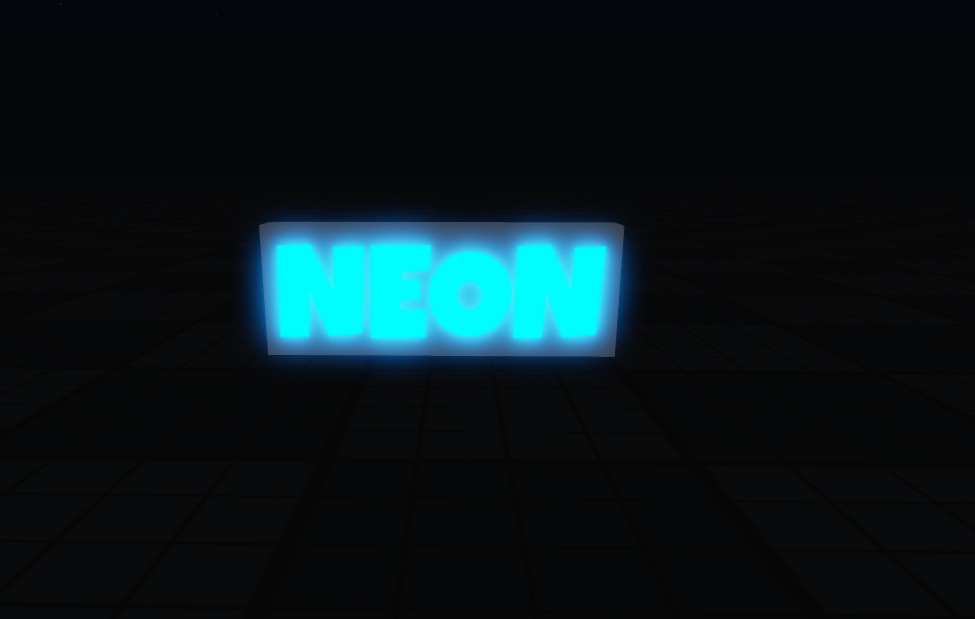
In our example, we’ll create a text-based NEON sign. Once the Text is aligned to the Part of your choice, we need to change the Background Transparency and set the value to 1. Feel free to customize the ‘Text’, ‘Font’, ‘TextColor’, and ‘TextSize’ properties as needed.
Adjusting Pixel Resolution
Another important option you would like to adjust, is the Pixel Resolution of your TextLabel. In the property settings of the SurfaceGUI is an additioanl Sizing option. That allows you to change the Pixel Resolution to your liking. Please see screenshot below.
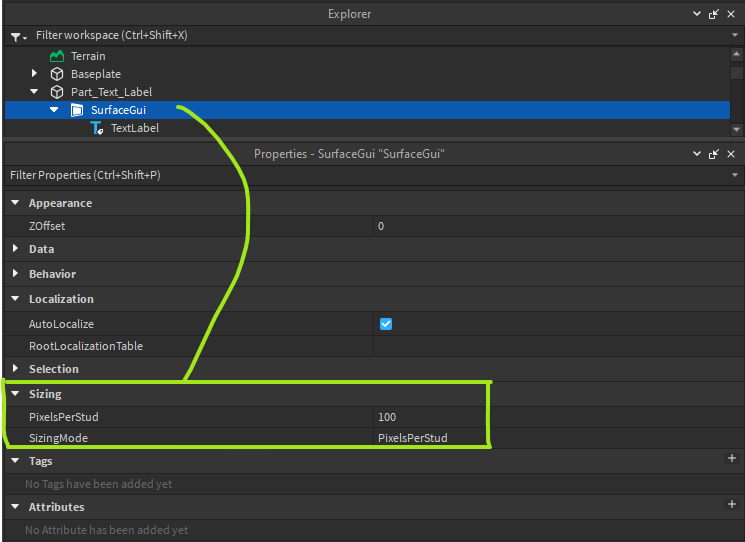
In our example, we used PixelsPerStud with a value set to 100.
By following all the steps above you should be able to create your own Neon Signs using the SurfaceGUI with a Text and Image Label.
Resource:
Neon Sign.rbxl (54.2 KB)


