A very common genre you find on Roblox is “Guess The ____.” How exactly do they do this? It seems pretty simple at first. Just do a simple script for every door like this:
game.Players.PlayerAdded:Connect(function(player)
	player.Chatted:Connect(function(message)
		if message == "answer" then
			script.Parent.Transparency = 0.5
			script.Parent.CanCollide = false
			task.wait(5)
			script.Parent.Transparency = 0
			script.Parent.CanCollide = true
		end
	end)
end)
This may seem like a valid script until you realize there are multiple problems with this.
- If the player types in “answer” using capitals in the word, the door will not open.
- The decal on the door will remain opaque.
- You will need a script for every door. Eventually, as you add more doors, the amount of scripts will cause the game to lag a lot.
There are also problems for people who want the doors to open only for the player who typed the correct answer.
- It will open to everyone in the server.
- If you only want one person to go through, I think it would be wise to keep the door open since you know they already know the answer.
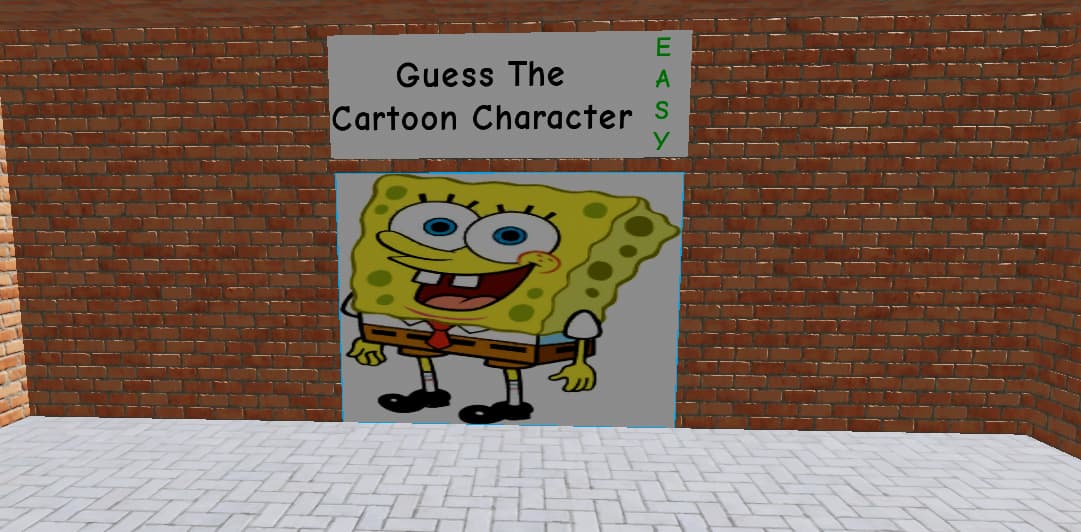
In this post, I will be showing you how to create a chat door game similar to “[15th Floor] Guess The Logo!” on Roblox.
Step 1: Create A building.
I created this little building to start with:

Step 2: Create A Door
Make sure that you also have a SpawnLocation, as well as a hallway for your doors. Let’s start be creating the first door.
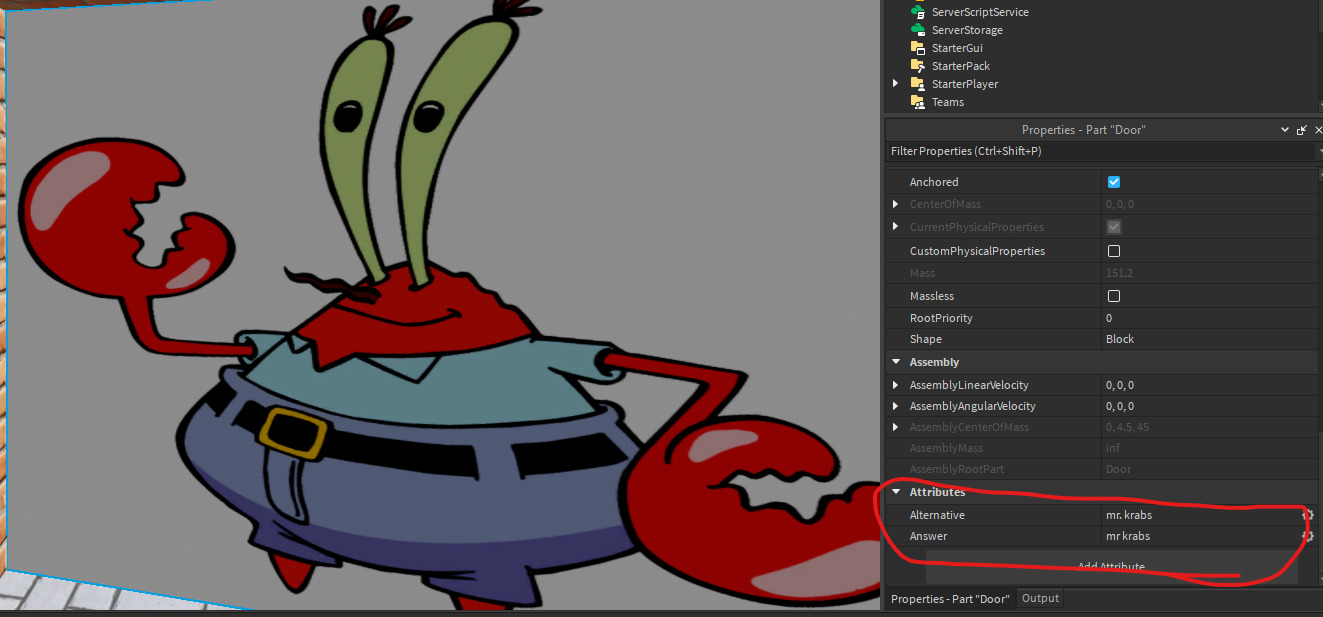
Step 3: Add An Attribute To The Door
Great! Now, we’re going to add an attribute called “Answer” with the value of the answer.
Make sure the attribute’s answer is all lowercase. Keep duplicating the door, moving it, giving it a new decal, and changing the attribute until you have a whole row of doors. But wait a second. What if a door has multiple answers? For example, if you type in “mr krabs” or “mr. krabs”. Well, if we add another attribute called “Alternative”, which is also a string, we can put another answer there!
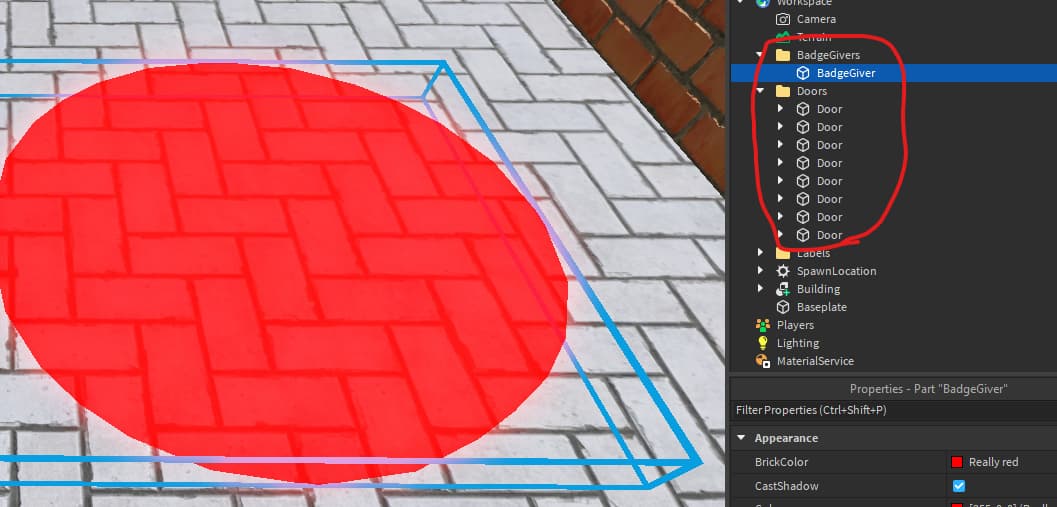
Step 4: Create A Badge Giver For The End
Create a folder called “BadgeGivers”. Place a part in there. Make that part look like a red cylinder and put it after all of the doors. Also put all of the doors into a folder called “Doors”. It should look like this once finished:
Step 5: Add A Script To The Badge Giver
Create a script inside the badge giver. The script should look like this:
local badgeId = 123456789 -- The Id Of The Badge You Want To Award

script.Parent.Touched:Connect(function(otherPart) -- Runs Code When The Badge Giver Is Touched
	if otherPart.Parent:FindFirstChild("Humanoid") then -- Checks If The Other Part Is A Player
		local player = game.Players:GetPlayerFromCharacter(otherPart.Parent) -- Returns Player By Character
		game.BadgeService:AwardBadge(player.UserId,badgeId) -- Awards Badge To Player
		otherPart.Parent.Humanoid.Health = 0 -- Resets Player
	end -- Ends If Statement
end) -- Ends 'Touched' Function
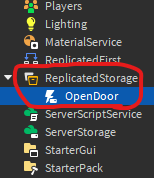
Step 6: Add A RemoteEvent Into ReplicatedStorage
A RemoteEvent is an item that can link server scripts and client scripts. Since ReplicatedStorage can access both the client side and server side of the game, adding a RemoteEvent there can be perfect. I named mine “OpenDoor”.
Step 7: Add A Script Into ServerScriptService
This will be the main code for detecting correct answers. It should look like this:
local doors = workspace.Doors -- Returns Folder Of Doors
local event = game.ReplicatedStorage.OpenDoor -- Returns RemoteEvent

game.Players.PlayerAdded:Connect(function(player) -- Starts Code When A Player Joins
	player.Chatted:Connect(function(message) -- Runs Code When The Player Chats
		for _, door in pairs(doors:GetChildren()) do -- Runs For Every Door In The Folder
			local answer = door:GetAttribute("Answer") -- Returns Answer Attribute
			if answer == string.lower(message) then -- Checks If The Answer Is Equal To The Chatted Message
				event:FireClient(player) -- Links Server To Client
			else -- Runs Code If The Answer Isn't Equal To The Chatted Message
				if door:GetAttribute("Alternative") then -- Checks If Door Has Alternative Attribute
					if door:GetAttribute("Alternative") == string.lower(message) then -- Checks If Alternative Attribute Is Equal To Chatted Message
						event:FireClient(player) -- Links Server To Client
					end -- Ends If Statement
				end -- Ends If Statement
			end -- Ends If Statement
		end -- Ends For Loop
	end) -- Ends 'Chatted' Function
end) -- Ends 'PlayerAdded' Function
You might be wondering why we put string.lower(message) in here. What that does is makes the chatted message all lowercase before comparing it to the answer. This way, the answer isn’t case sensitive.
Step 8: Add A LocalScript Into StarterPlayerScripts
Inserting a script into StarterPlayerScripts will take that script and put it into a folder in the player called “PlayerScripts.” This is the script we will use just for opening the door on command. It will look like this:
game.ReplicatedStorage.OpenDoor.OnClientEvent:Connect(function(door) -- Runs Code When RemoteEvent Is Fired To Client
	door.Transparency = 0.5 -- Makes Door Slightly Transparent
	door.CanCollide = false -- Makes Door Non-Collidable
	door:FindFirstChildWhichIsA("Decal").Transparency = 0.5 -- Makes Decal Slightly Transparent
end) -- Ends 'OnClientEvent' Function
Step 9: Disable Chat
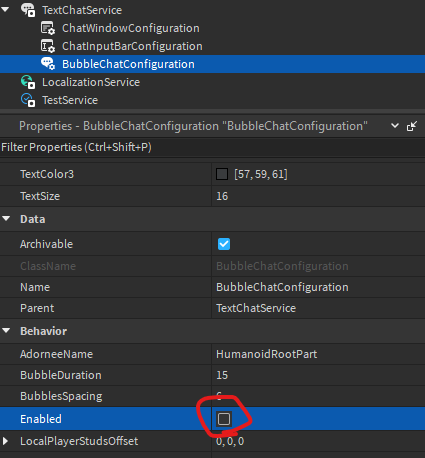
There’s still one problem. Another player can easily see the message you chatted and take that answer. To prevent this from happening, we can disable the chat bubble as well as the chat window. First, expand TextChatService and select BubbleChatConfiguration. Then, click on the boolean called “Enabled” so that it’s false.
Now do the same thing with ChatWindowConfiguration.
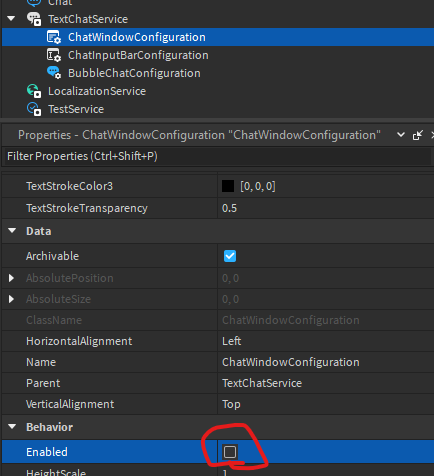
Make sure to keep ChatInputBarConfiguration enabled, because that’s where the player needs to type in the answer. Congratulations, you just made an advanced system of chat doors to reduce lag, enhance efficiency, and ensure fun!
Thanks for reading!