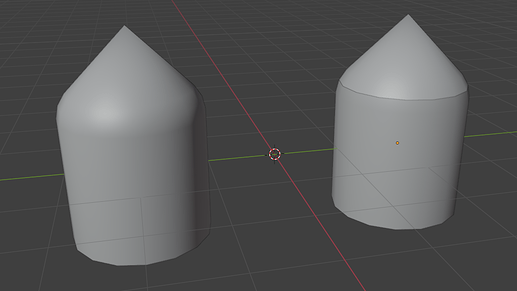
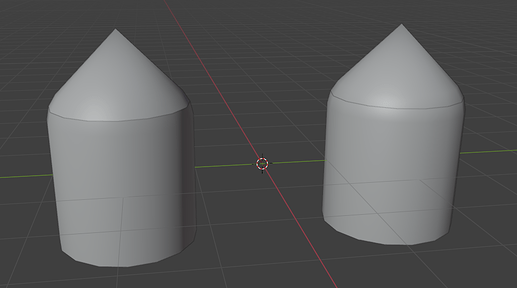
This is a quick little trick I found out when trying to get separate meshes to blend together like they are one mesh.
This is common when you either want to get around the triangle upload limit, stitch together a mesh’s texture to get around the 1K image resolution limit, or (in my case) make separate mesh-deformed parts blend smoothly together for custom characters.
This tutorial is focused mainly on Blender, but it should be possible to do this in any other 3D modelling program that somehow supports transferring mesh normals.
Process
First, keep the original full mesh and create a copy of it that you will split up. You can hide the original mesh.
Make sure the split meshes are in the exact same place the original is at.
Next, add a DataTransfer modifier to each separate mesh and set the Source to your original full mesh.
Then, tick Face Corner Data and Custom Normals underneath.
This will transfer over the mesh normal data 1:1, which will make the two meshes blend together like the original.
Now when you export them, you don’t get any hard edges!


