Hello!
I’m PrinceTybalt, and I’m going to fill you in on DragDetectors. DragDetectors are a new Instance type (aka Roblox building block) that shipped in September of last year. This is mostly an introduction, but I’m ALSO going to introduce a brand-new addition to DragDetectors (Permission Policies) at the end.
What’s a DragDetector?
DragDetectors help you add interactivity to your worlds without scripting. Add a DragDetector under a part, hit play, and you can drag that part around with your mouse, touch screen, VR controller, or game controller. That’s it!
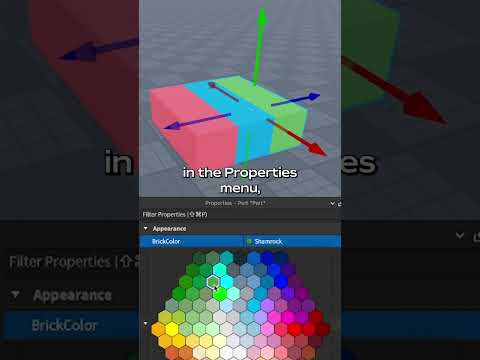
To give you a quick idea, here’s a super-short video on how to build a Jenga-style game using DragDetectors:
Why are they cool?
That’s just a taste, but DragDetectors are also really adaptable, flexible, and deep. Here’s what I mean:
Adaptable
They’re adaptable because:
- You can operate them in Studio or in games with any input device (mouse, a touch screen, VR, or game controller.
- They work with both an anchored (by positioning it) and non-anchored parts (by pulling it around with forces).
- They can run locally on the client, or remotely on the server.
Flexible
They’re flexible because as an Instance, DragDetectors have properties. This lets you dictate how they behave by picking:
- A DragStyle, which lets you translate and rotate it in a bunch of different ways.
- A direction, which lets you pick a plane or a line to pull in, or an axis to rotate around.
- Limits on how far you can move them, like knowing when to stop a desk drawer from opening so much it falls out.
Deep
They’re because DragDetectors interact with constraints to make objects move with real integrity. With few scripting methods, you can make them do even more like build 3D user interfaces or construction tools.
Let’s see them in action!
To see a little more about DragDetectors in action, here’s the first episode of Roblox Talk Show, where I chatted with @DucksAreYeIIow and @TooManyOveralls:
Working with Constraints
DragDetectors synergize really well with Constraints. Constraints limit the way things can move in response to forces, while DragDetectors let you exert forces to push things in particular directions. When used together, you can build objects that you can drag along the direction allowed by the constraint and place it just how you want. By using DragDetectors and constraints together you can make sliding doors, or swinging doors, or slingshots, or marionettes, or… or… whatever you can think of!
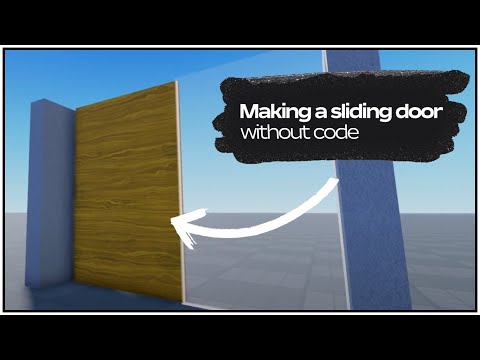
Here’s a video that shows how to build a sliding door with NO SCRIPTING required:
What can scripts add?
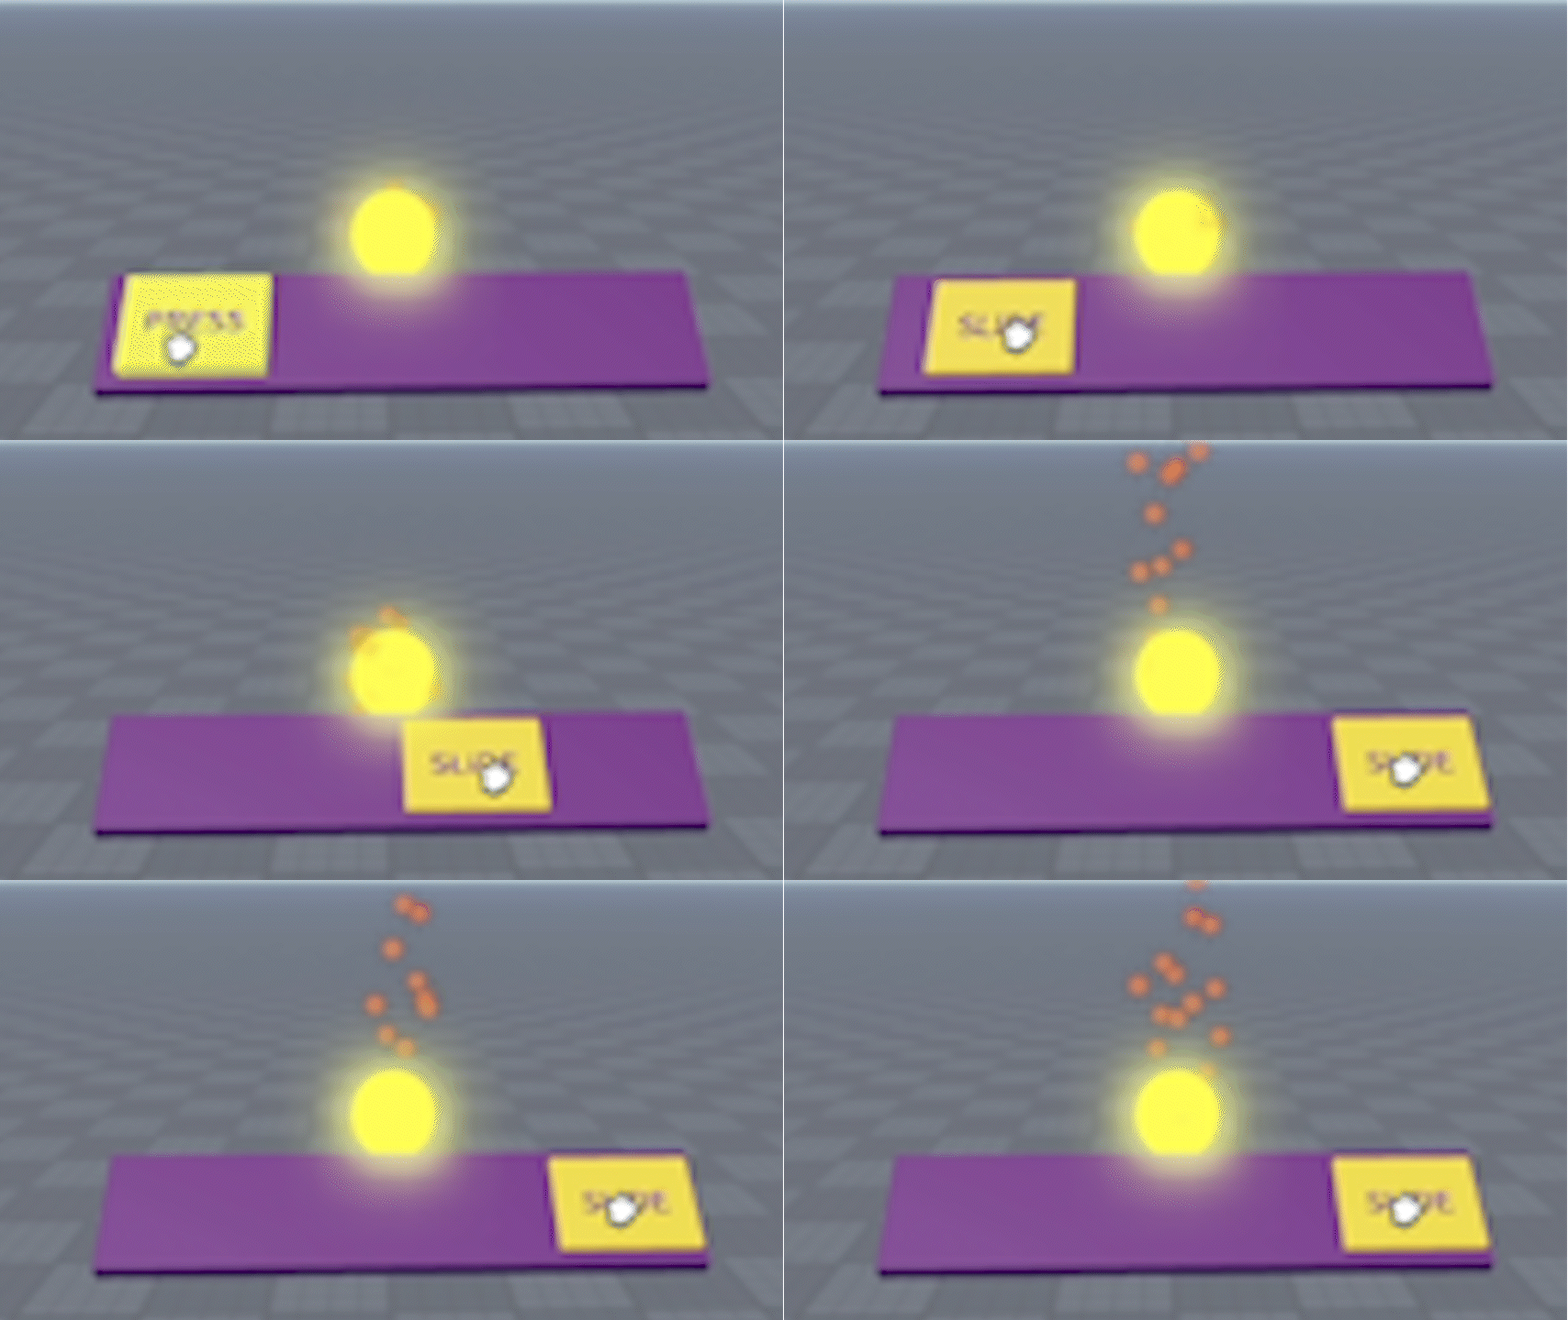
While scripting is not required to use DragDetectors, they do have methods you can call to do even more. The DragDetector API page has an exhaustive list of all their methods, signals, and properties. Here’s one simple example: a slider that controls the strength of a light that’s only 39 lines long!

local slider = script.Parent

local DragDetector = slider.DragDetector
local particles = slider.Parent.GoldNugget.ParticleEmitter

local function updateTransparencies(slider, isDragging)
	if not isDragging then
		slider.WaitingSliderPart.Transparency = 0.0
		slider.WaitingSliderPart.SurfaceGui.TextLabel.TextTransparency = 0.0
	else
		slider.WaitingSliderPart.Transparency = 1.0
		slider.WaitingSliderPart.SurfaceGui.TextLabel.TextTransparency = 1.0
	end
end

local function updateParticles(particles)
	local dragAmount = DragDetector.DragFrame.Position.X
	if (dragAmount < 0) then
		dragAmount = 0
	end
	local minSpeed = dragAmount * 3
	local maxSpeed = dragAmount * 7
	particles.Speed = NumberRange.new(minSpeed, maxSpeed)
	particles.Rate = 250 + dragAmount * 10
end

DragDetector.DragStart:Connect(function()
	updateTransparencies(slider, true)
	updateParticles(particles)
end)

DragDetector.DragContinue:Connect(function()
	updateParticles(particles)
end)

DragDetector.DragEnd:Connect(function()
	updateTransparencies(slider, false)
	updateParticles(particles)
end)
I wanna play!
There’s a lot you can do with DragDetectors, and we’ve created a couple of demo worlds populated with fun things to try: DragDetectors TestWorld 1 and DragDetectors TestWorld 2.
You can play them or you can download a copy and explore them yourself. Play with them in Studio, see how they work, steal them and reconfigure them as you wish.
Pro Tip: New PermissionPolicy Feature
Lastly, as promised, here’s a brand new DragDetector feature, recently added: PermissionPolicy. PermissionPolicy lets YOU decide who can drag which parts of your game.
PermissionPolicy is a property that can have one of three values: Everybody, Nobody, or Scriptable. If the value is Scriptable, then you can register a method using a new DragDetector method, setPermissionPolicyFunction.
So, let’s say you only want someone to be able to open a door when they’ve found the Golden Key that was hidden somewhere else. You can keep track of who has the key in your game, and when they try to open the door, you can then allow them to open it ONLY if they have the key.
Here’s what the code might look like:
myDragDetector:setPermissionPolicyFunction(function(player, part)
   –- assuming you’ve implemented playerHasGoldenKey elsewhere…
   return playerHasGoldenKey(player)
end)
What’s Next?
In addition to the links above, there’s a whole bunch of information and resources in the DragDetectors Announcement on the Roblox DevForum.
We hope you have fun with DragDetectors, and if you have questions about this article, post them below; we’ll try to answer them. Or feel free to post ideas for follow-up topics if you want us to go into more depth.


