CONTEXT
Packages have an “Update all” feature that enables you to update all occurrences of this package within places of a universe. Yet, the places are only saved and not published, meaning you have to open every places in Roblox Studio and publish manually. This can be very time-consuming if your game has many places. An “AutoPublish” feature was already requested there and there, but with no response so far.
Thankfully, Roblox recently introduced the Open Cloud with which you can publish places by calling the Place Management API.
This tutorial will tell you how to take advantage of this new feature to publish all places of your universe after you made a package mass-update using a simple Python script.
PREREQUISITES
Download and install Python 3.8.10 here. For Windows users, I recommend you download the Windows installer 64-bit, or 32-bit if your system does not support 64-bit.
During the installation, make sure you check the “Add Python to environment variables” to make it easier to run the script later.
Install the Python package “requests” that will enable you make HTTP requests to the Roblox API. To do so, open your operating system’s terminal (cmd on Windows) and run the following command:
pip install requests
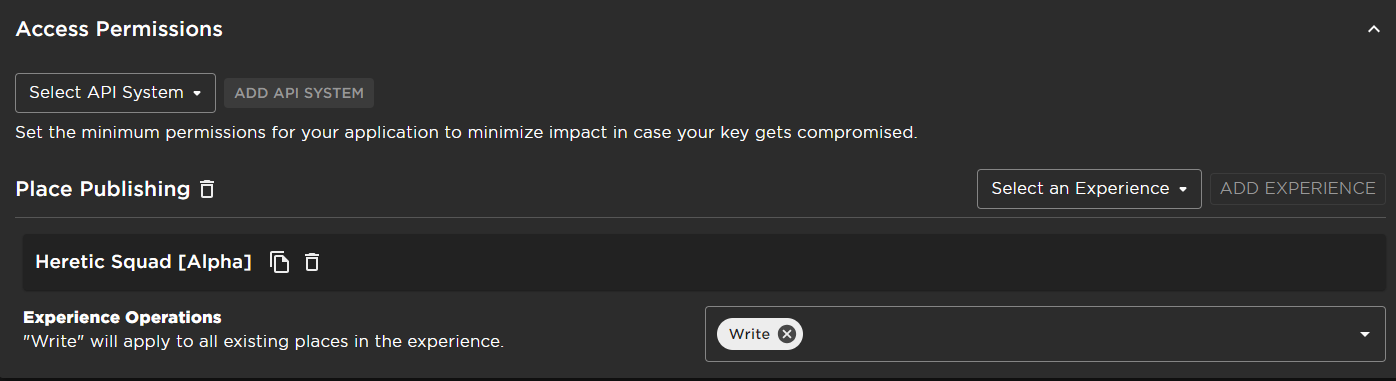
Generate an API key that has “Write” permission on the universe you want to publish the places by following the Open Cloud tutorial. DO NOT SHARE THE API KEY !
Get your .ROBLOSECURITY cookie. This cookie will be required for the script to download the latest place file for publishing. In Firefox, you can access this cookie by accessing any Roblox website (like home page) and pressing F12 (or right-click → Inspect Element) → Storage → Cookies → https://www.roblox.com → .ROBLOSECURITY. Copy the content of the cell. As written in the cell, DO NOT SHARE THIS COOKIE !
Paste in a .py file you create the following script:
import requests

API_KEY = "YOUR API KEY HERE"
UNIVERSE_ID = YOUR UNIVERSE ID HERE
COOKIES = {".ROBLOSECURITY": "YOUR .ROBLOXSECURITY COOKIE HERE"}

places = requests.get("https://develop.roblox.com/v1/universes/" + str(UNIVERSE_ID) + "/places?sortOrder=Asc&limit=100").json()["data"]

for i in range(len(places)):
	print("getting place file for", places[i]["name"], places[i]["id"])
	place_data = requests.get("https://assetdelivery.roblox.com/v1/asset/?id=" + str(places[i]["id"]), cookies=COOKIES)
	version = int(place_data.history[0].headers["roblox-assetversionnumber"])
	print("publishing version", version, "as version", version + 1)
	response = requests.post("https://apis.roblox.com/universes/v1/" + str(UNIVERSE_ID) + "/places/" + str(places[i]["id"]) + "/versions?versionType=Published", data=place_data.content, headers={"x-api-key": API_KEY})
	print("published", response.text)
	print()
Put the credentials (API key, universe ID, .ROBLOXSECURITY cookie) you got in the prerequisites in the constants at the beginning of the script where asked.
In a terminal, navigate to the path where your .py script is (cd PATH on Windows) and run the script by running the following command:
python FILENAME.py
That’s it ! All places of the universe are now published !
KEEP IN MIND
The .ROBLOXSECURITY cookie has an expiration date and possibly your API key if you set an expiration date to it. Therefore, you need to update those in your script when they change.
The script I wrote does not handle HTTP errors. If anything fails, try running the script again, or feel free to fork for your needs.
Thanks for this code very useful. But I keep getting {“code”:3,“message”:“API Key has insufficient scopes.”} when the program cycles through all the places in my universe. Could I get some help troubleshooting?
I found out that it was because of the group, THANK you for the code. It genuinely helped a lot, but if there is a way to make it work with the groups, please let me know.
I also use this script for group games and it works.
Make sure the API key was generated using your group’s profile in the creator dashboard, like below.
For some reason every time I try to use this, it doesn’t actually publish the places, but there aren’t any errors or anything. It just says it published the place, but it has the previous version number in the “published” print instead of the new one, and every time I try to re-do it, the version number stays the same. I checked to make sure the cookie and the API key were set up correctly and they seemed fine. Any idea on what might be the problem here?
The script did run fine.
Did you check in-game to see if changes you made have actually been applied ?
Because I know that when you try publishing a place that is the same as the latest version and that this version is published, the version number is not incremented (so not published again, as it’s the same place).
Also make sure you used the “Update all” feature of packages before running the script, otherwise, no changes will be present so the version number won’t change.
Oh, that was the issue! I always only just publish the packages and have them set to “auto update” in all the places so I don’t have to update them manually, but it seems like that only applies the changes once you actually open the places. Thanks for the help!
It’s definitely possible, as long as you can handle HTTP requests, download and upload files.
I’ve tried quickly in Java but I have a lots of trouble getting it to work because of my poor knowledge of the language. What’s blocking you ?
For me its the fact that attempting to update more than 3-4 places within a couple minutes doesnt actually publish them. Its really annoying for me to mass update if half the places dont get updated.
I tried this in java, and javascript. It still happens.
I also noticed this occuring in the python code as well.
Are you saying that the script first works for a few places, then stops working for the rest of places you are publishing ?
Could you send a screenshot of the output using the Python script ?
In my game, I have 11 places to publish, and it always works.
Make sure you use the “Update all” feature of packages before running the script by the way.
I can describe it, If you have discord though I can add you to make contacting easier.
Lets say the places version is 11, and I want it updated to 12.
The place sometimes does update, and returns {version:12}, but sometimes it returns {version:11} instead, showing that it didnt update.