Introduction
Hello, Developers!
I would like to introduce you to Cutscenify, a Cutscene Editor that lets you make cutscenes for your games with ease. It can also Insert a script into your game to play the cutscene!
Installation
Installing the plugin is simple. So simple, that the link to install it is right below this text!
Making A Cutscene
Open the plugins tab at the top of the screen, then click on Cutscenify.

If you do have saved cutscene, scroll down to the section “Opening Saved Cutscenes”, if you have no saved cutscenes already, you should see this.
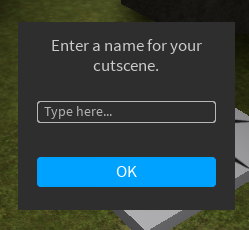
Enter a name, then click on OK.

This menu should appear with 3 options, 2 of which are unusable until you add at least 2 cutscene points, we’ll get to that in a moment.
Click on the Add Point button. This should appear.

You can change these values at your leisure, here is what each one means:
Switch to Next Point when done? | If set to true, the camera will immediately switch to the next cutscene point once it has finished transitioning to the current point.
FOV | Will tween the Camera’s Field Of View up to the set amount.
Transition | The time the Camera takes to reach the current cutscene point.
Easing Style | Determines the way in which the camera’s tweening will act for the current cutscene point.
Easing Direction | Controls the direction of the Easing Style chosen.
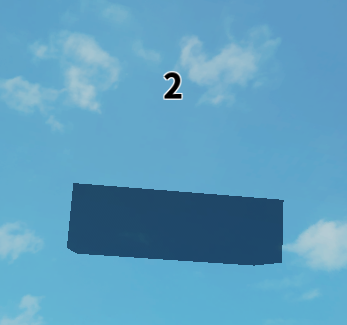
When you are done, click on Add Cutscene Point.
This should add a new Cutscene Point into the Workspace .
If you have added at least two cutscene points, the two buttons Preview & Insert will now be open to you.
If you want to see a preview of your cutscene, click on Preview. You should see your cutscene in action as if a cutscene script is in your game already.
Inserting Your Cutscene
To insert your cutscene into your game, click on Insert.
You should see this.

You can choose when the cutscene will play, you can choose from the following:
Executable | Inserts a
ModuleScriptinto theWorkspace. An example script can be found below.
Part Touched | Inserts aPart& aLocalScript. Activates the cutscene when the cutscene part is touched.
Player Entered | Inserts aLocalScriptwhich activates the cutscene when you joined.
Player Died | Inserts aLocalScriptwhich activates the cutscene when you die.
Example Script:
local module = require(workspace.CutsceneExecutionModule)
delay(1, module:PlayFullCutscene())
Opening Saved Cutscenes
If you have more 1 cutscene saved in your game, this menu will appear.

If you have 2 or more cutscenes saved, this will appear.
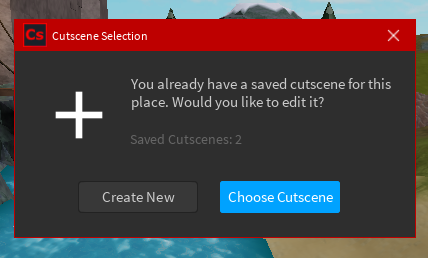
Clicking Choose Cutscene will show this menu.

Choosing one of your cutscenes will open the plugin’s main menu.
More
You can Rename Your Cutscene or Finish editing your cutscene in the ellipsis menu.

NOTE: If you close the plugin, you will still be able to edit the cutscene next time you open the plugin, unless you click on the Exit button in the ellipsis menu.
Rig Importing
If you have a saved .fbx file, you can import it by clicking on the ‘Import Rig’ button. Select the .fbx file you want to import, then click on ‘Open’. Your rig should then be imported into Studio which can be used in a cutscene.
That’s all folks!
And that’s how you use Cutscenify! If you have any questions, you may ask me in the comment section below.
I’d love to see what you make with Cutscenify, if you would like, share your cutscene in the comments!
Please let me know if you find any bugs, send screenshots, videos or whatever you can to describe the bug so I can fix it. ![]()
If you want to find out more about Cutscenify, click on the link below:
inventfvl.com/cutscenify
Happy Developing! ![]()

